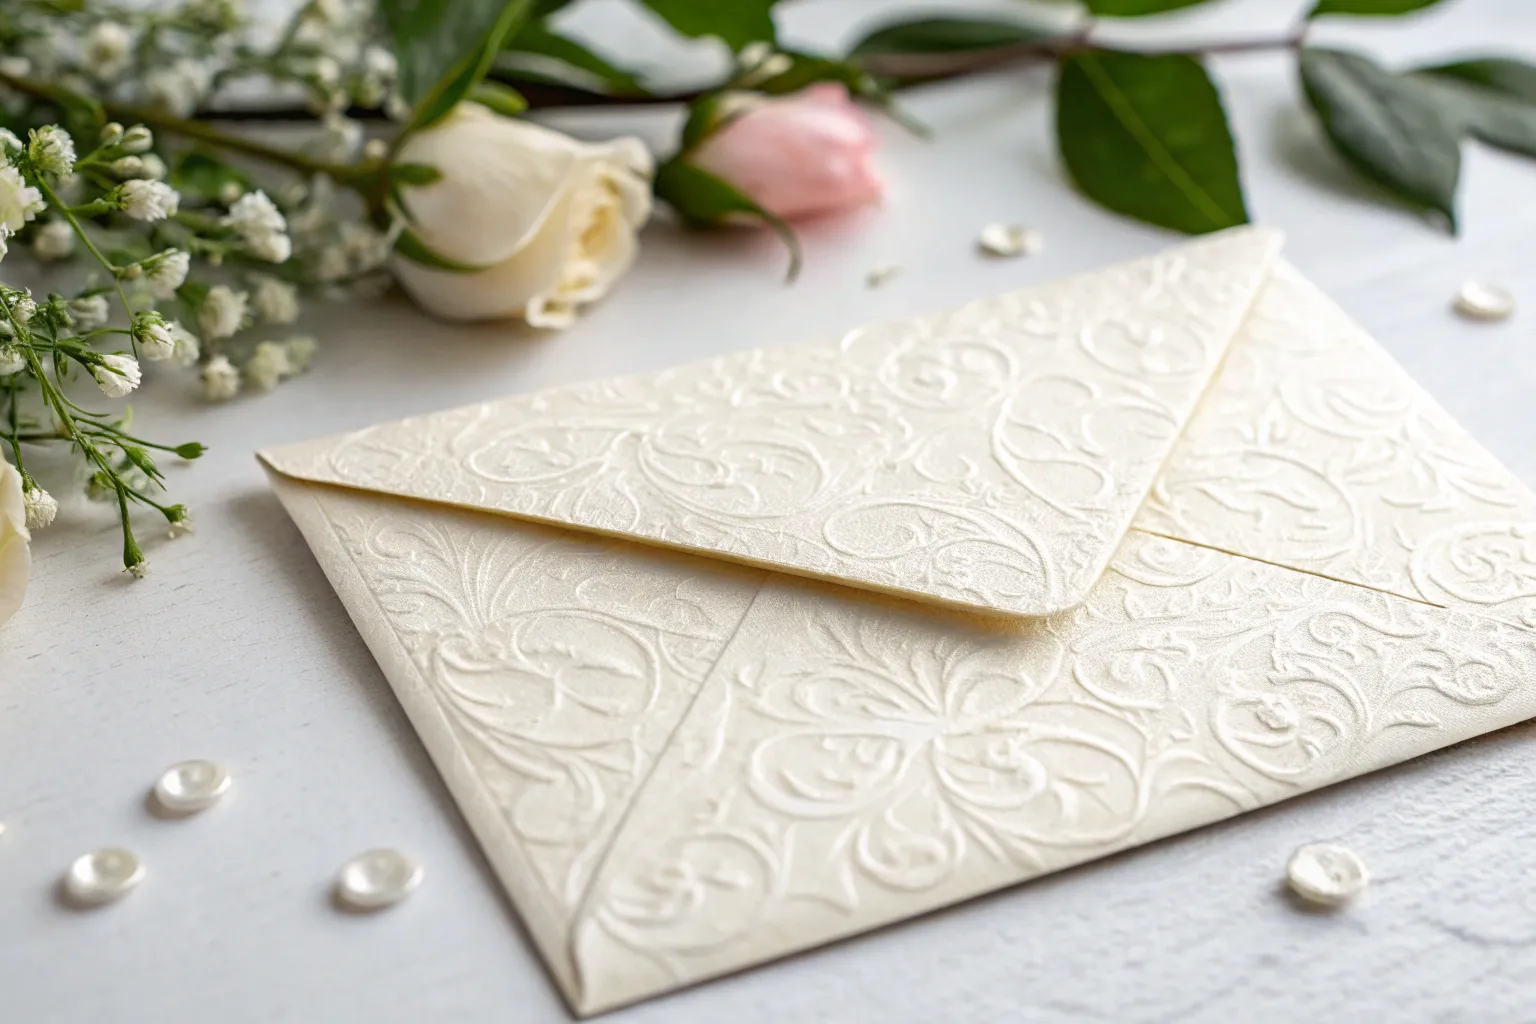
Transforming a simple gift card into something truly memorable starts with creating a beautiful, handpainted tiny envelope to hold it. These miniature works of art elevate the act of gift-giving while providing a personal touch that speaks volumes about your thoughtfulness.
The Appeal of Tiny Envelope Gift Card Holders
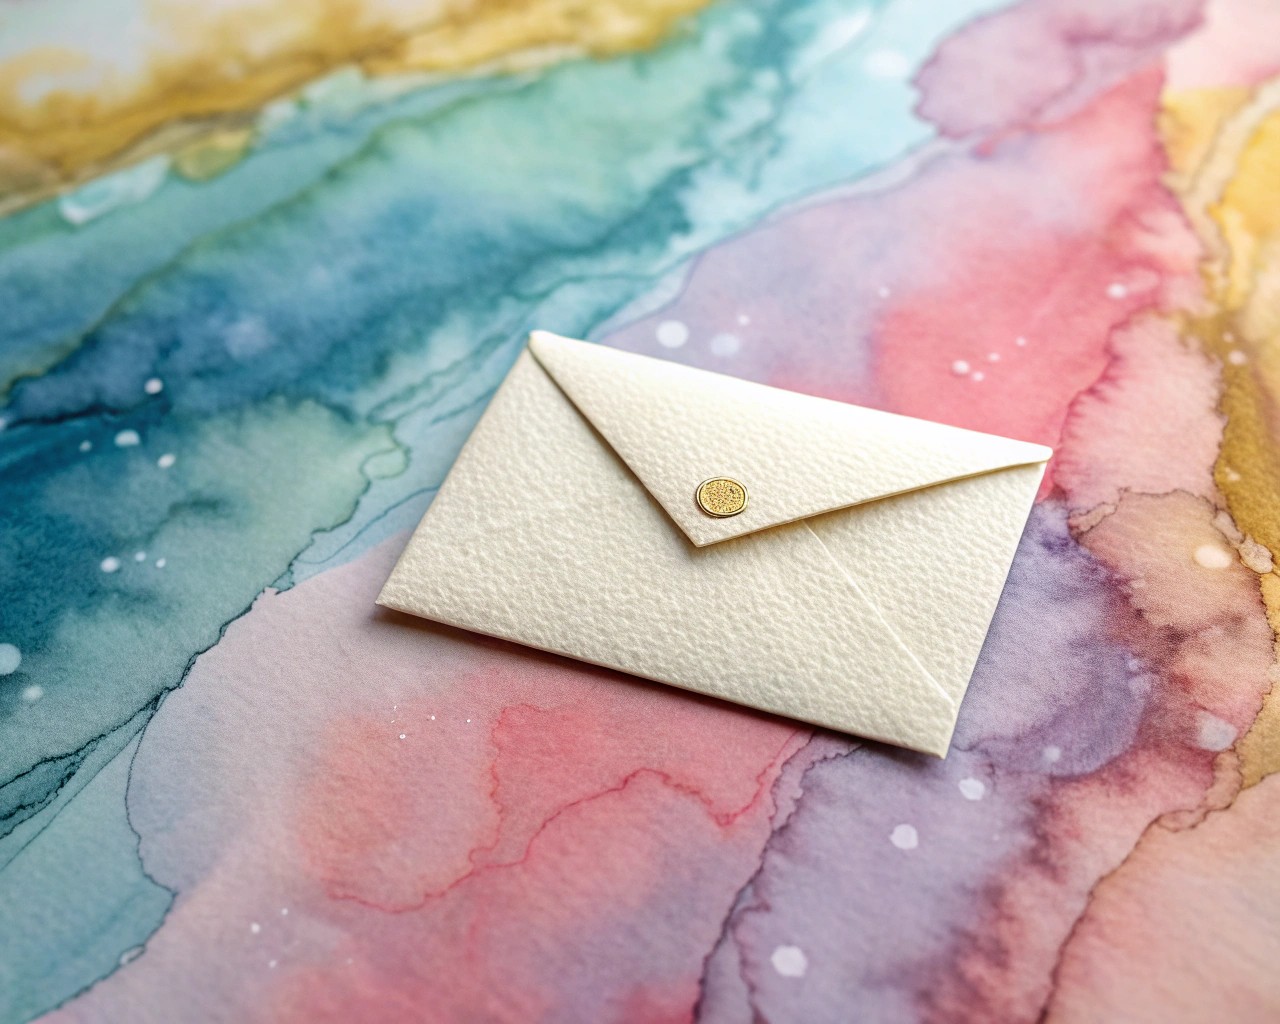
Tiny envelopes measuring between 2×2 inches and 4×4 inches serve as perfect vessels for gift cards, small notes, or precious keepsakes. Unlike standard gift card presentations, these handcrafted holders become part of the gift itself—treasures that recipients often keep long after the card has been spent.
The beauty lies in their versatility. I’ve found that watercolor and acrylic paints work exceptionally well on envelope surfaces, creating everything from subtle washes to bold geometric patterns. The compact canvas encourages experimentation without the pressure of working on larger surfaces.
Essential Materials and Preparation
Paper Selection
Heavy cardstock or watercolor paper in weights between 140-300 gsm provides the ideal foundation. The paper should fold cleanly without cracking while maintaining enough structure to support paint layers. Standard colors like kraft brown, warm white, or soft cream offer neutral bases that complement most paint schemes.
Paint Systems
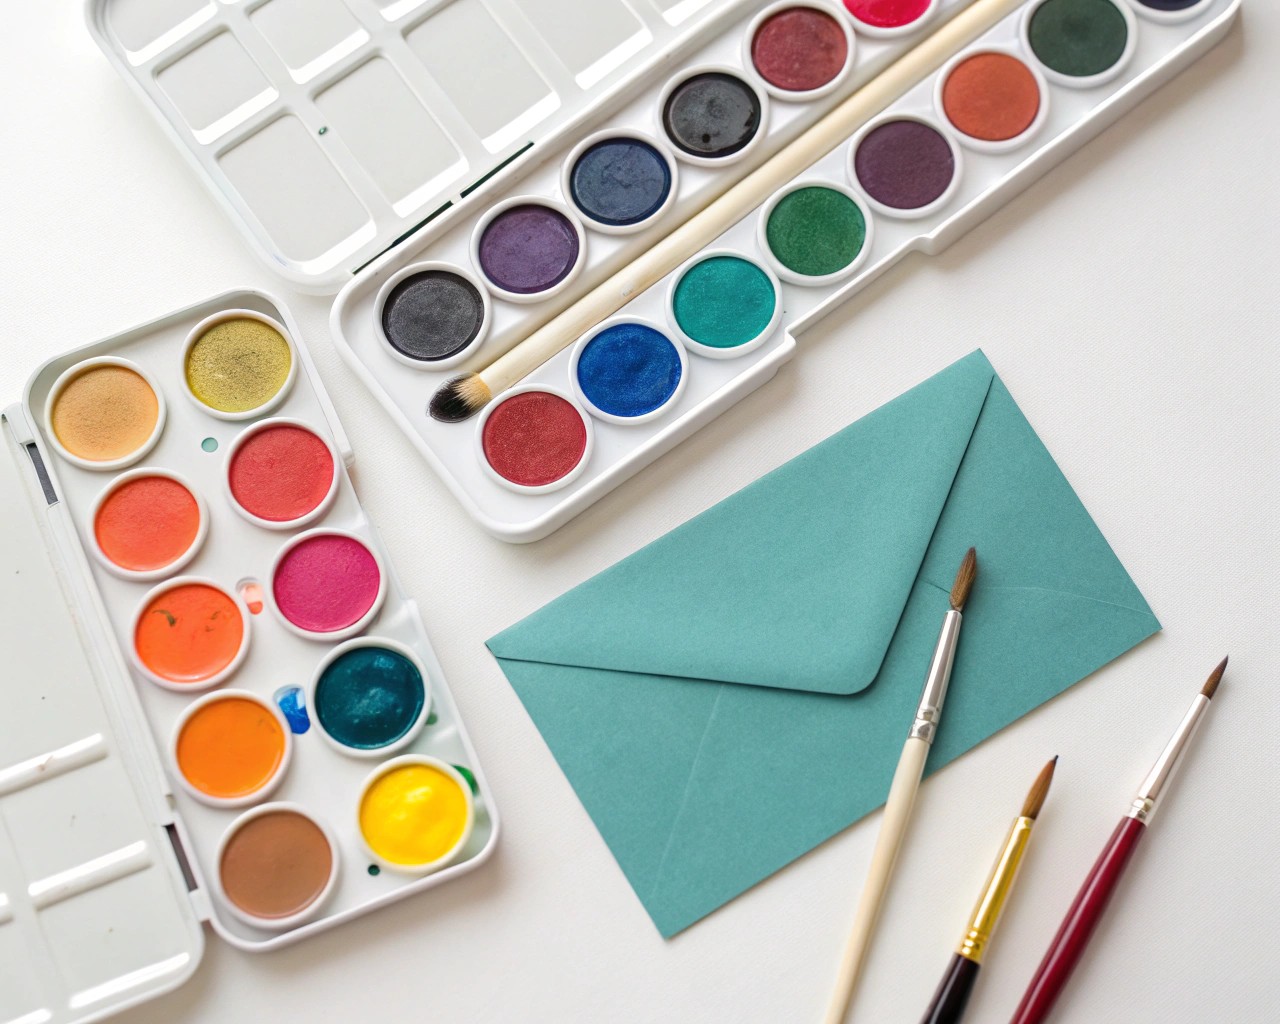
Both watercolor and acrylic paints excel for envelope decoration, each offering distinct advantages. Watercolors create luminous, translucent effects with natural bleeding and blending. Acrylic paints provide opaque coverage, crisp lines, and faster drying times. For mixed-media approaches, combining both systems can yield stunning results.
Essential Tools
Round watercolor brushes in sizes 4, 6, and 8 handle most painting tasks. Flat brushes excel for geometric shapes and backgrounds. Natural sea sponges create interesting textures, while cotton swabs serve as precision tools for small details. A spray bottle maintains proper moisture levels during watercolor work.
Envelope Construction Techniques
Template Method
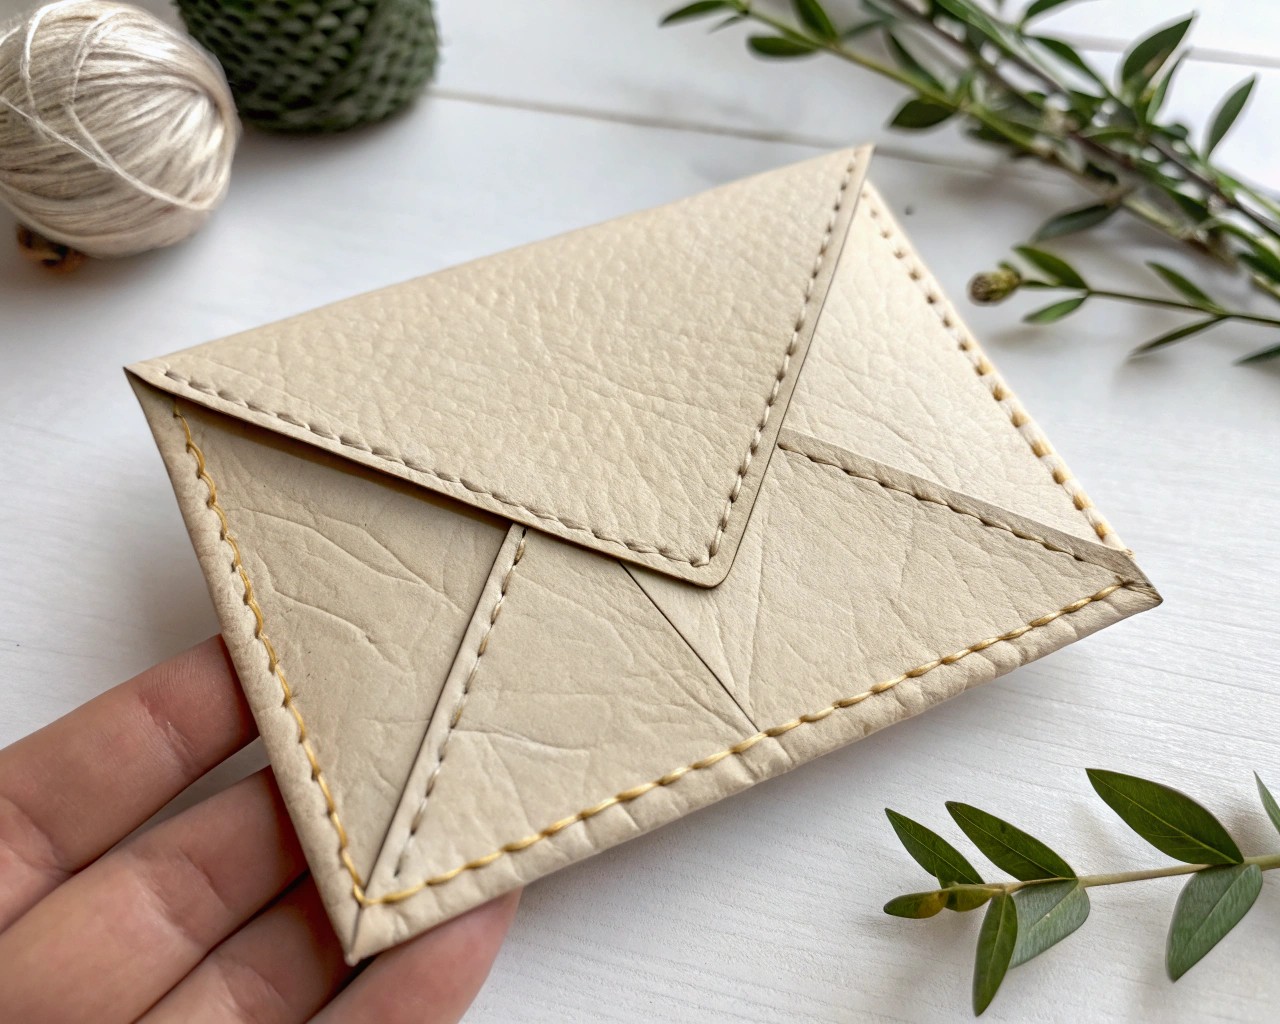
Start with a 4×4 inch square of chosen paper. Mark the center point by lightly folding diagonally both ways, creating an X-shaped crease. From this center, measure and mark points that will become your fold lines. This method ensures symmetrical results every time.
Folding Sequence
Begin by folding opposite corners toward the center point, creating two triangular flaps. Next, fold the remaining corners to meet these edges, forming a diamond shape with overlapping sections. The bottom section folds up first, followed by the side flaps, and finally the top closure flap.
Securing the Structure
Apply a thin line of craft glue or double-sided tape along the side edges of the bottom flap only. Press the side flaps against this adhesive, creating the envelope pocket. Leave the top flap unglued to maintain functionality.
Fundamental Painting Approaches
Watercolor Techniques
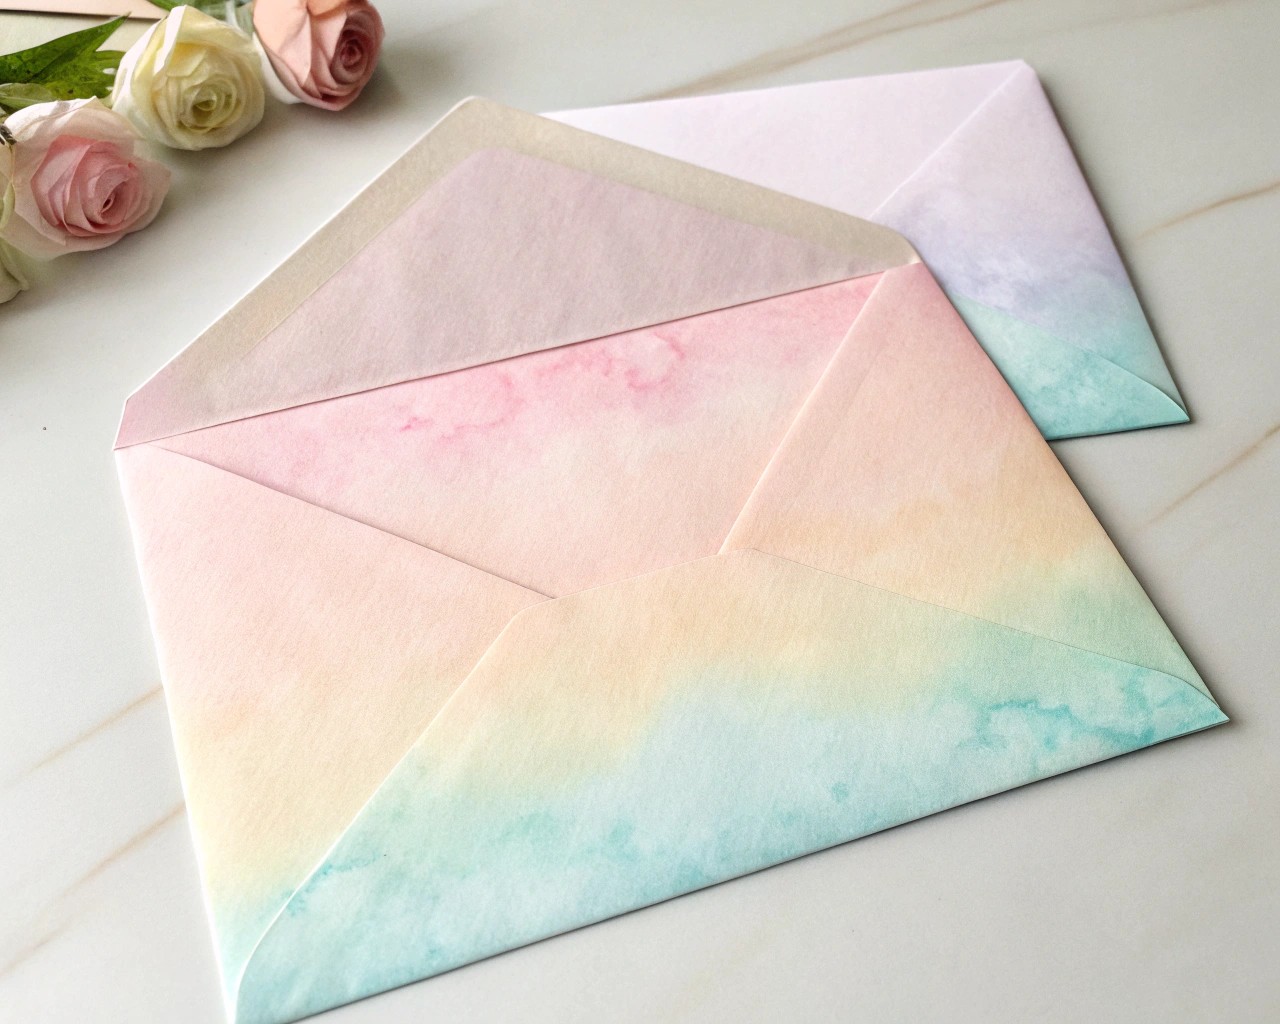
Prepare your envelope by lightly dampening the surface with clean water using a large, flat brush. This prevents harsh lines and encourages gentle color blending. While the surface remains damp, drop in colors and watch them naturally flow and merge.
For controlled effects, work on completely dry surfaces. Paint spreads less but creates more defined shapes and crisp edges. This technique works particularly well for geometric patterns or precise floral elements.
Acrylic Application Methods
Acrylic paints require different handling due to their quick-drying nature and opacity. Thin the paint slightly with water for smoother application and better flow. Work quickly but deliberately, as corrections become difficult once the paint begins to set.
Layer building creates depth and visual interest. Start with lighter base colors and gradually add darker elements. Each layer should dry completely before applying the next—typically 10-15 minutes depending on thickness and environmental conditions.
Design Pattern Inspirations
Abstract Watercolor Washes
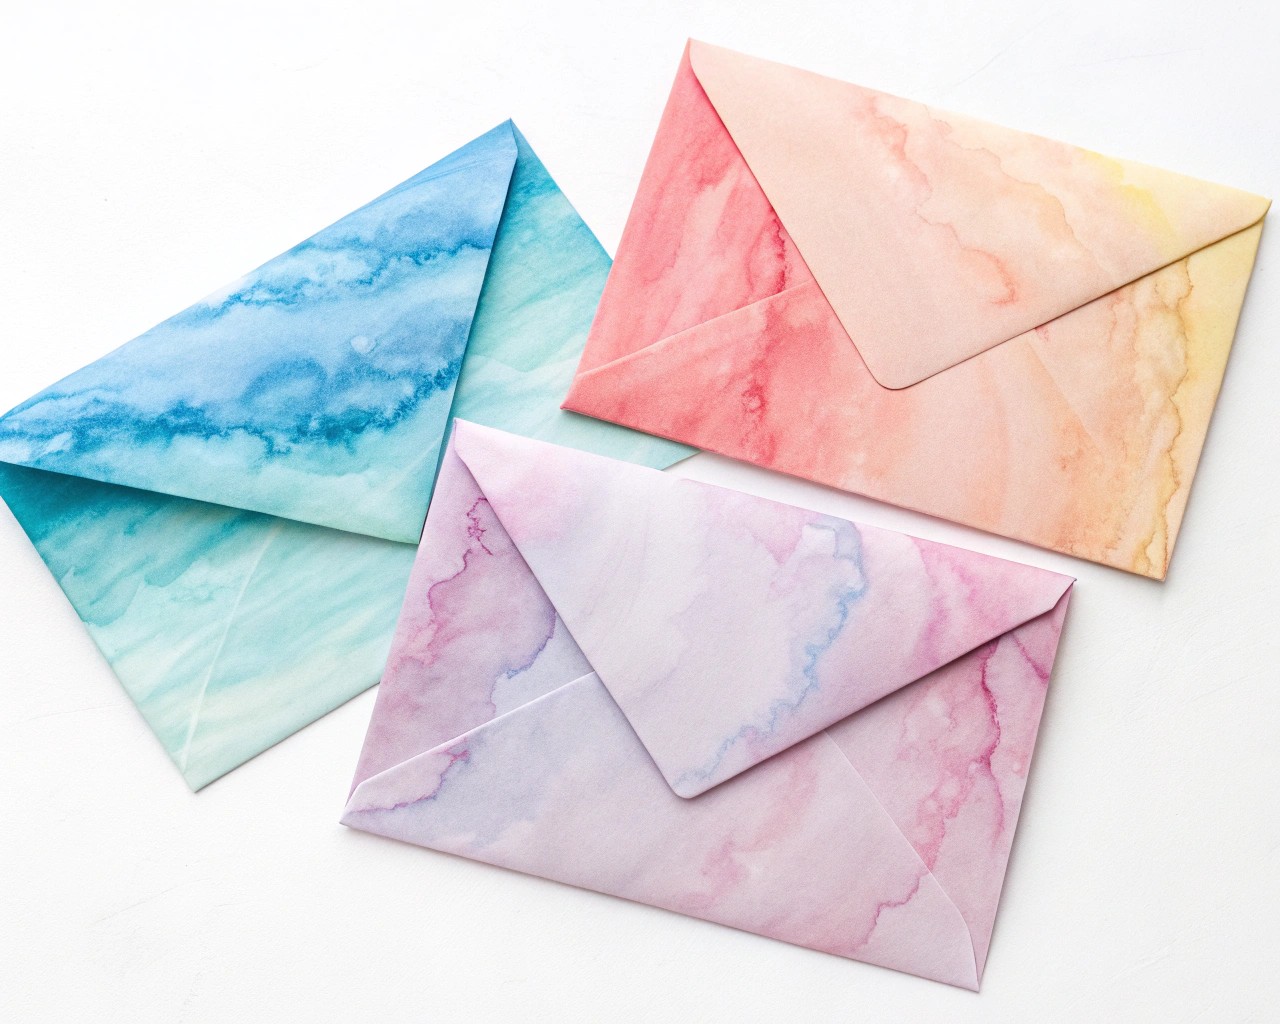
Create stunning backgrounds by applying clean water to the envelope surface, then dropping in diluted watercolor pigments. Colors naturally blend and create organic, cloud-like effects. Popular color combinations include warm sunset tones (oranges, pinks, yellows) or cool ocean hues (blues, teals, purples).
Geometric Accent Patterns
Simple shapes painted with acrylic create modern, sophisticated looks. Try painting small triangles in metallic gold along envelope edges, or create a scattered dot pattern using the brush handle’s end. Stripes, whether parallel or crossing, add contemporary flair.
Botanical Elements
Delicate leaves, flowers, or branches painted in watercolor provide elegant decoration. Start with simple forms—a few curved lines for stems, oval shapes for leaves, small circles for berries. Build complexity gradually as confidence grows.
Advanced Decorative Techniques
Masking Fluid Applications
This latex-based liquid preserves white paper areas while painting around them. Apply masking fluid with an old brush (it will ruin good brushes) to create stars, letters, or intricate patterns. Paint over the dried masking fluid, then remove it by gentle rubbing to reveal crisp white designs.
Salt and Alcohol Effects
While watercolor paint remains wet, sprinkle table salt onto the surface. The salt absorbs moisture, creating unique crystalline patterns as it dries. Similarly, dropping isopropyl alcohol into wet watercolor creates interesting blooms and textures.
Sponge Texturing
Natural sea sponges create organic, irregular textures perfect for backgrounds or sky effects. Load the sponge with thinned paint and gently dab onto the envelope surface. Vary pressure and paint consistency for different effects.
Color Theory for Tiny Canvases
Complementary Harmonies
Opposite colors on the color wheel create vibrant, eye-catching combinations. Try pairing warm oranges with cool blues, or rich purples with sunny yellows. Use one color dominantly and the other as accent touches.
Analogous Schemes
Adjacent colors on the color wheel blend harmoniously. Green-blue-purple combinations evoke ocean scenes, while yellow-orange-red suggests autumn warmth. These schemes feel naturally balanced and pleasing.
Limited Palettes
Restricting yourself to three colors plus white often produces more cohesive results than using many colors. This constraint encourages creative mixing and prevents muddy, oversaturated results.
Drying and Protection Methods
Optimal Drying Conditions
Allow envelopes to dry flat in a dust-free environment with good air circulation. Avoid direct sunlight, which can cause uneven drying and paper warping. Room temperature between 65-75°F with moderate humidity produces best results.
Waterproofing Options
For envelopes that might encounter moisture, apply a thin coat of MicroGlaze using your fingertip. This clear, waxy substance provides excellent water resistance without significantly altering the appearance. Alternatively, spray fixative creates a protective barrier while maintaining the paper’s natural texture.
Handling During Transport
Once completely dry, envelopes can handle normal postal conditions. However, for precious pieces, consider placing them in protective sleeves or including “Hand Cancel” requests with postal workers to avoid machine processing.
Personalization Strategies
Monogram Integration
Incorporate the recipient’s initials into the design using elegant lettering. Paint the letters first in masking fluid, apply background washes, then remove the masking for crisp white monograms. Alternatively, paint letters in metallic gold or silver over dried backgrounds.
Event-Specific Themes
Tailor designs to specific occasions—soft pastels for baby showers, rich jewel tones for winter celebrations, bright primary colors for children’s parties. These connections make the envelope feel purposeful and considered.
Cultural Motifs
Draw inspiration from cultural patterns and symbols meaningful to the recipient. Simple adaptations of traditional designs show thoughtfulness and personal connection.
Troubleshooting Common Issues
Paint Bleeding
If watercolors spread too aggressively, the paper is too wet. Blot excess moisture with paper towels and wait for appropriate dampness. For future projects, test water levels on paper scraps first.
Uneven Coverage
Streaky acrylic paint often indicates insufficient dilution or brush technique. Add small amounts of water to improve flow, and maintain wet edges by working quickly across the surface.
Paper Warping
Excessive moisture causes paper buckling. Use less water, work on properly sized paper, or tape edges to a board during painting. Heavy-weight papers resist warping better than thin alternatives.
Presentation and Finishing Touches
Interior Decoration
Don’t neglect the envelope’s interior surfaces. Simple patterns, color washes, or stamped designs on inside flaps create delightful surprises when opened. Keep these elements subtle to avoid competing with the main design.
Closure Methods
While traditional adhesive closures work well, consider decorative alternatives. Wax seals, small stickers, or thin ribbon ties add elegant finishing touches that enhance the overall presentation.
Coordinated Sets
Creating multiple envelopes in related designs builds visual cohesion for multi-recipient occasions. Vary individual elements while maintaining consistent color schemes or themes.
These painted tiny envelopes transform ordinary gift-giving moments into extraordinary expressions of creativity and care. The combination of thoughtful construction, beautiful painting, and personal touches creates lasting impressions that extend far beyond the enclosed gift card’s value. Each envelope becomes a small work of art, carrying both monetary and emotional significance that recipients treasure long after the original gift is enjoyed.
