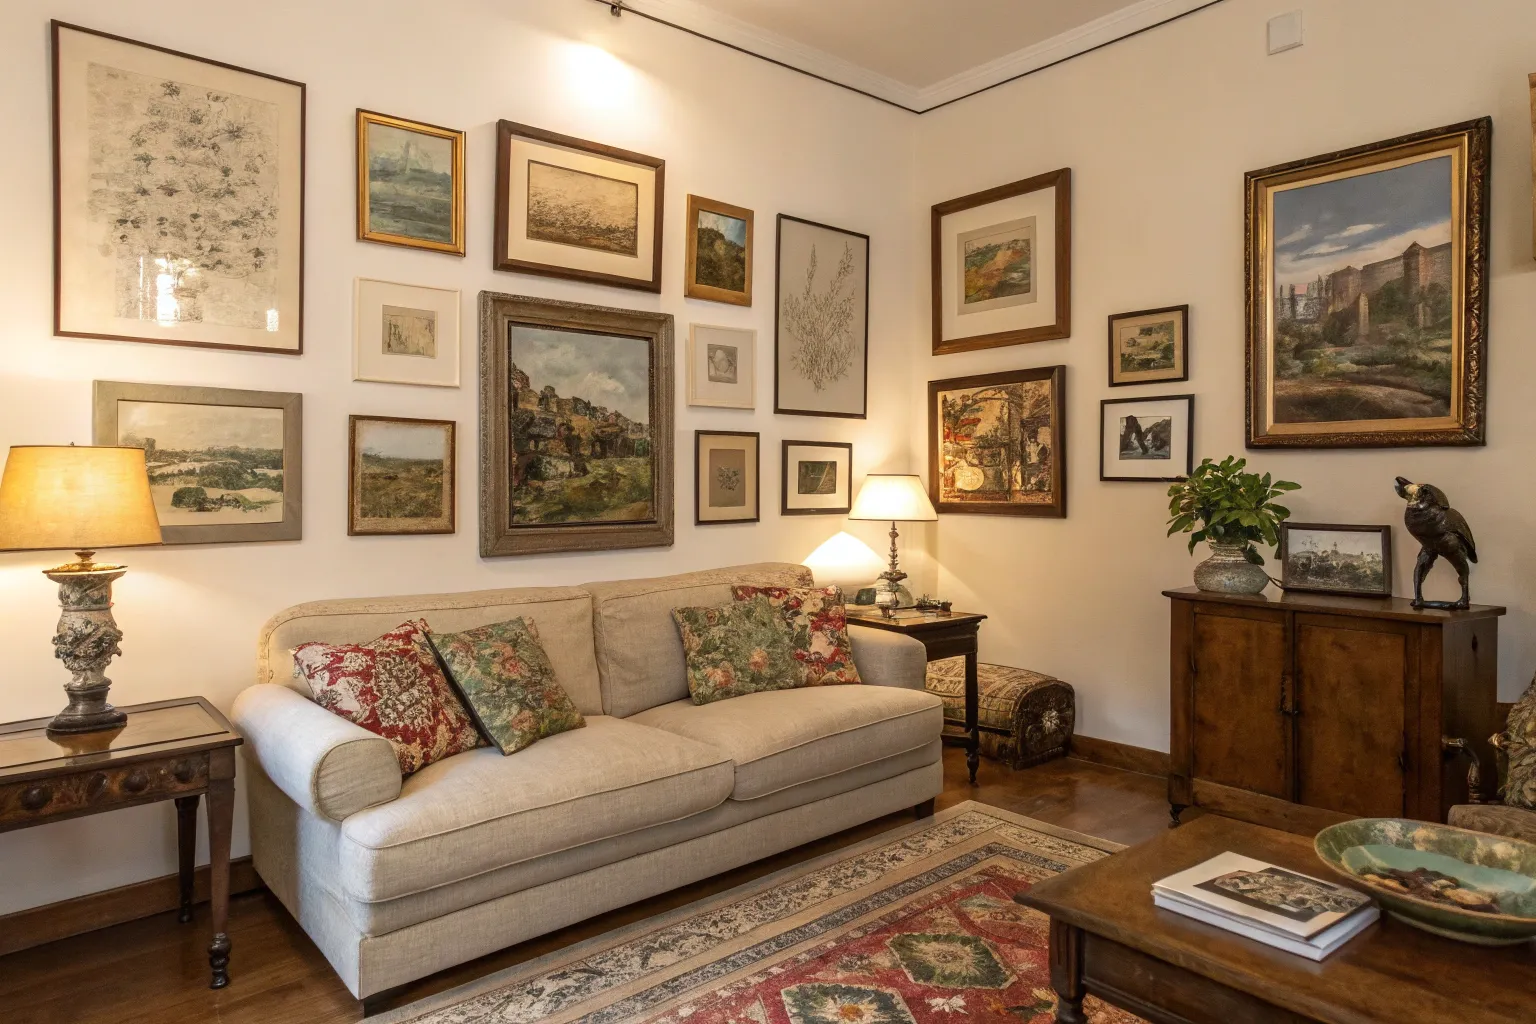
Transforming dated artworks into contemporary masterpieces is one of the most rewarding DIY projects you can undertake. With just a few simple techniques and the right approach, you can breathe new life into thrift store finds, inherited pieces, or artworks that no longer match your evolving aesthetic.
Understanding Your Canvas: Assessment and Planning
Before diving into any transformation, I always begin by carefully examining the piece to understand what I’m working with. Look beyond the outdated colors or worn frame—consider the bone structure. A well-made frame with good proportions can become the foundation for something truly stunning, regardless of how it currently appears.
When assessing vintage artwork, pay attention to the canvas quality, frame construction, and overall condition. Solid wood frames with intricate details often make the best candidates for transformation because they provide architectural interest that complements modern design sensibilities. The key is recognizing potential beneath surface imperfections.
Professional Tip: Test any cleaning solutions or paints on an inconspicuous area first. Different materials—from oil paintings to prints on paper—will react differently to various treatments.
Essential Tools and Materials for Success
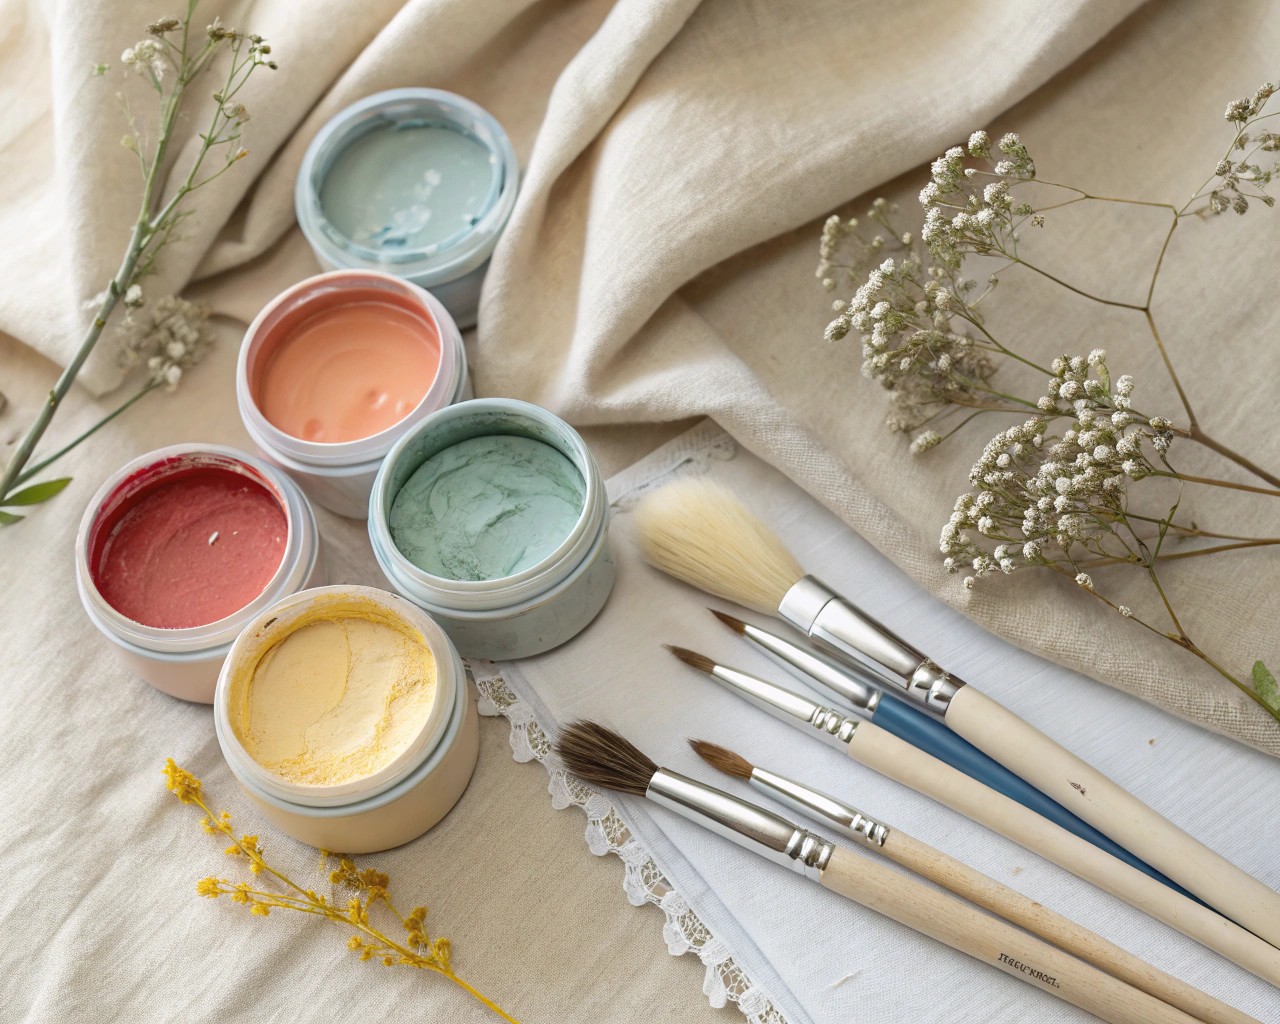
Your transformation toolkit should include high-quality brushes, chalk mineral paint, fine-grit sandpaper (220-grit works well), painter’s tape, and protective materials like drop cloths. I’ve found that investing in premium brushes makes an enormous difference in achieving professional-looking results.
For paint selection, chalk-based paints offer excellent coverage and create that coveted matte finish that reads as expensive and contemporary. Metallic finishes like Rub ‘n Buff in European Gold can add sophisticated touches, while dark wax creates depth in carved details.
Materials List:
- Chalk mineral paint in neutral tones (French Linen, Cotton White)
- Fine sandpaper and steel wool
- Quality synthetic brushes
- Painter’s tape and drop cloths
- TSP-based cleaner for surface preparation
- Protective clear coat or wax finish
The Foundation: Proper Surface Preparation
Successful transformations begin with meticulous preparation. Start by completely disassembling the piece—remove artwork, glass, and backing materials. This allows you to work on each component separately and ensures thorough coverage.
Clean all surfaces with a TSP-based cleaner to remove accumulated dirt, oils, and grime that could prevent proper paint adhesion. For ornate frames with intricate details, use cotton swabs on bamboo skewers with distilled water to reach into carved areas without damaging delicate elements.
Light sanding with 220-grit sandpaper creates the perfect surface texture for paint adhesion. Focus on creating an even, slightly roughened surface rather than removing all existing finish. This step is crucial for long-lasting results that won’t chip or peel over time.
Color Theory for Modern Appeal
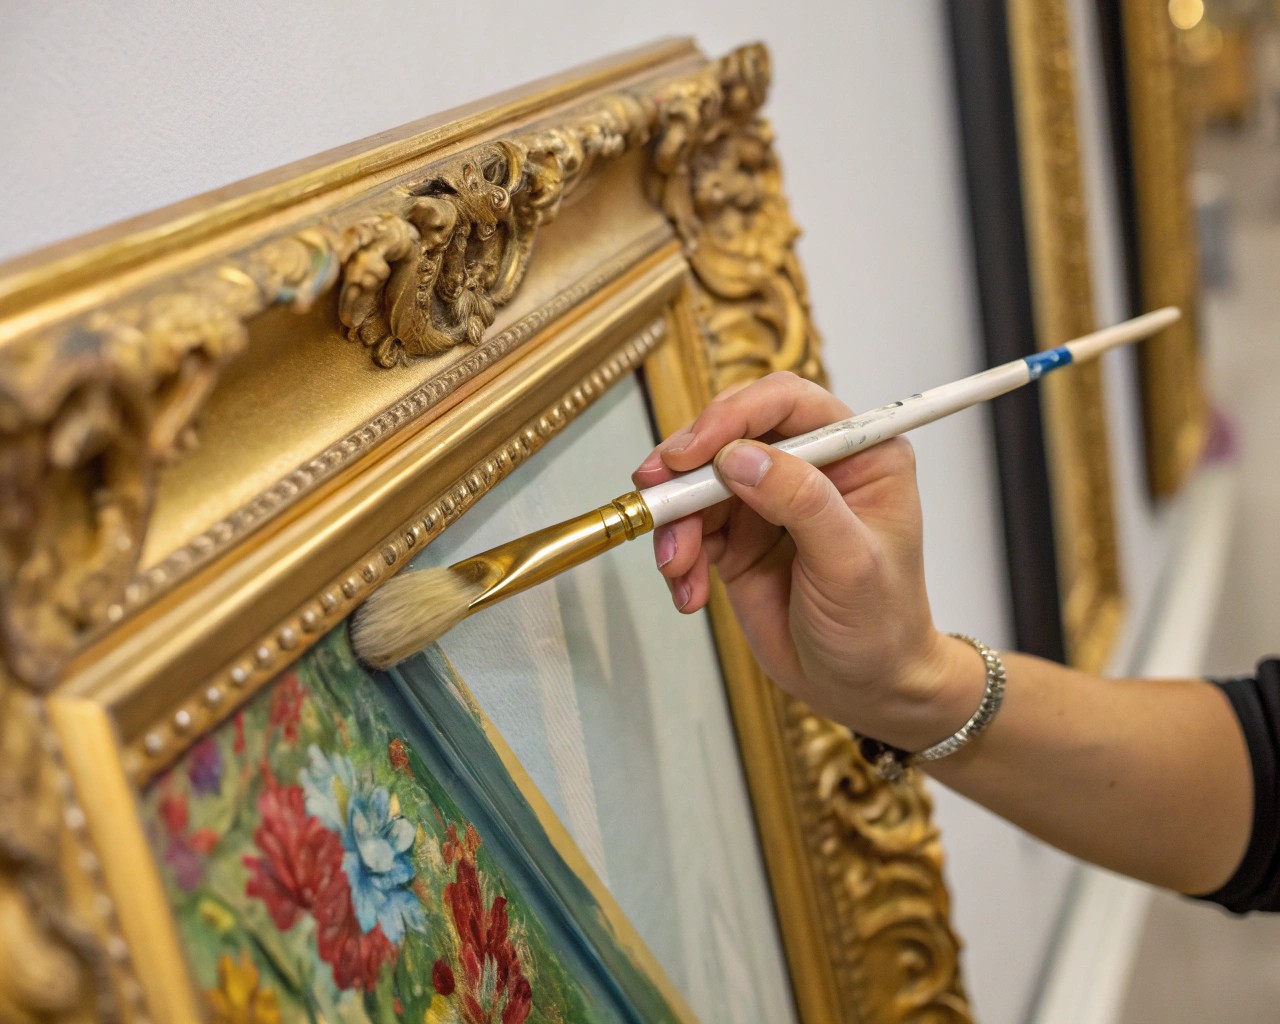
Contemporary design favors sophisticated neutrals over bold, dated colors. When selecting your new color palette, consider how the piece will integrate with your existing décor while maintaining visual interest.
Monochromatic schemes create instant sophistication. Choose the dominant color from your existing artwork and paint the frame in that same hue—this technique makes the art appear more expensive and thoughtfully curated. Alternatively, classic whites like Farmhouse White or soft grays like French Linen provide versatile backgrounds that complement any artwork.
For those feeling adventurous, consider the emerging trend of painting frames to match wall colors. This creates a floating effect that makes the artwork itself the star while maintaining the frame’s structural presence.
Step-by-Step Frame Transformation
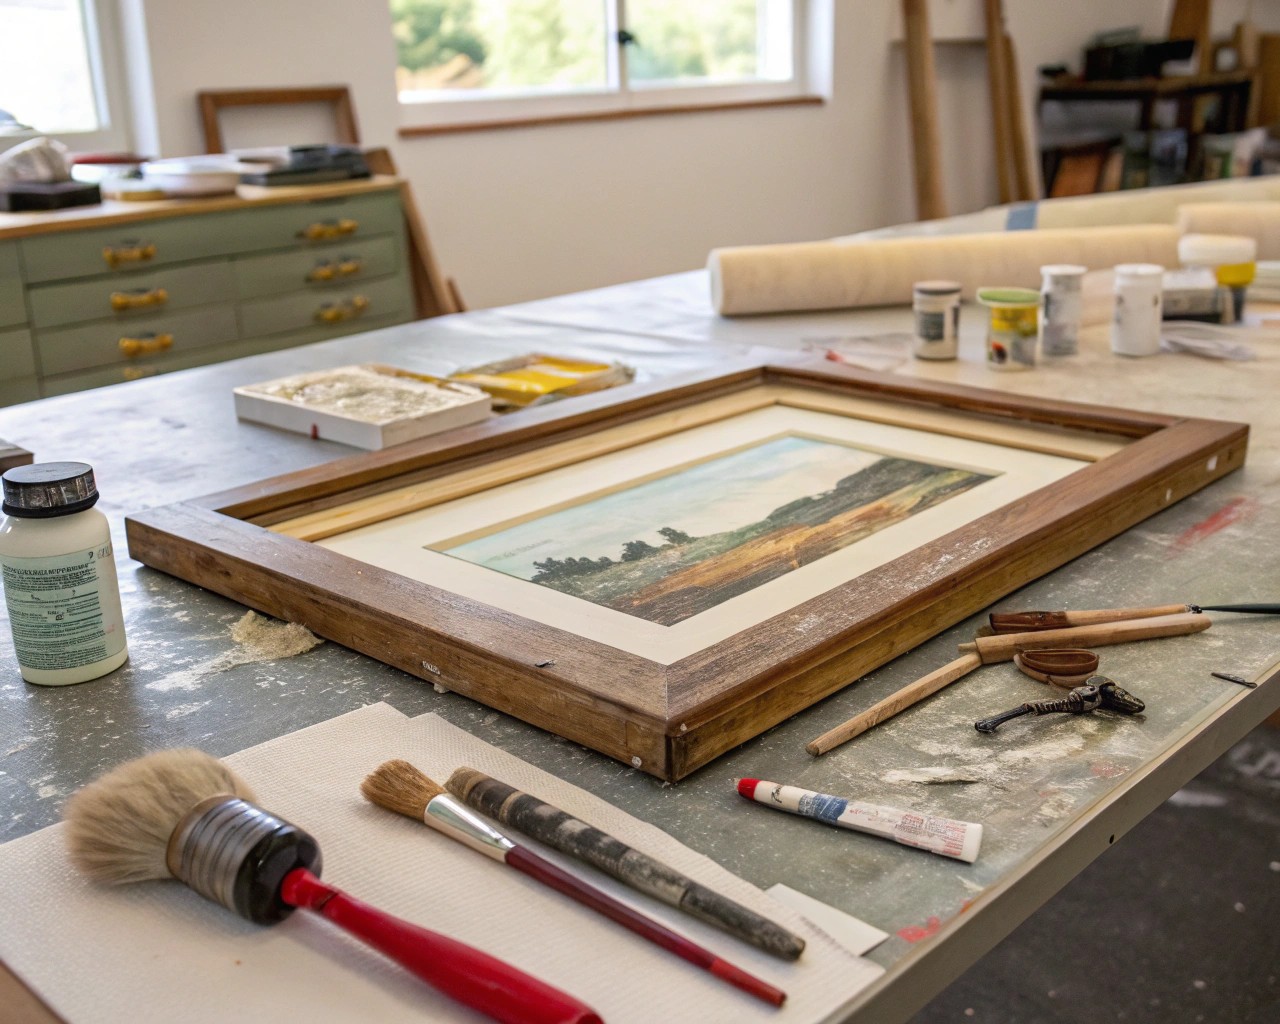
Step 1: Base Coat Application
Apply your chosen base color using smooth, even strokes. Work in sections, maintaining a wet edge to avoid visible brush marks. Most quality chalk paints require two coats for optimal coverage and durability.
Step 2: Creating Depth and Interest
Once your base coat is completely dry, consider adding subtle details. Lightly sand raised areas to reveal underlying colors or wood grain—this technique, called dry brushing, adds sophisticated aging that looks intentional rather than worn.
Step 3: Protective Finishing
Seal your work with either clear wax or protective coating. This step is essential for durability, especially in high-humidity environments or high-traffic areas.
Artwork Revival Techniques
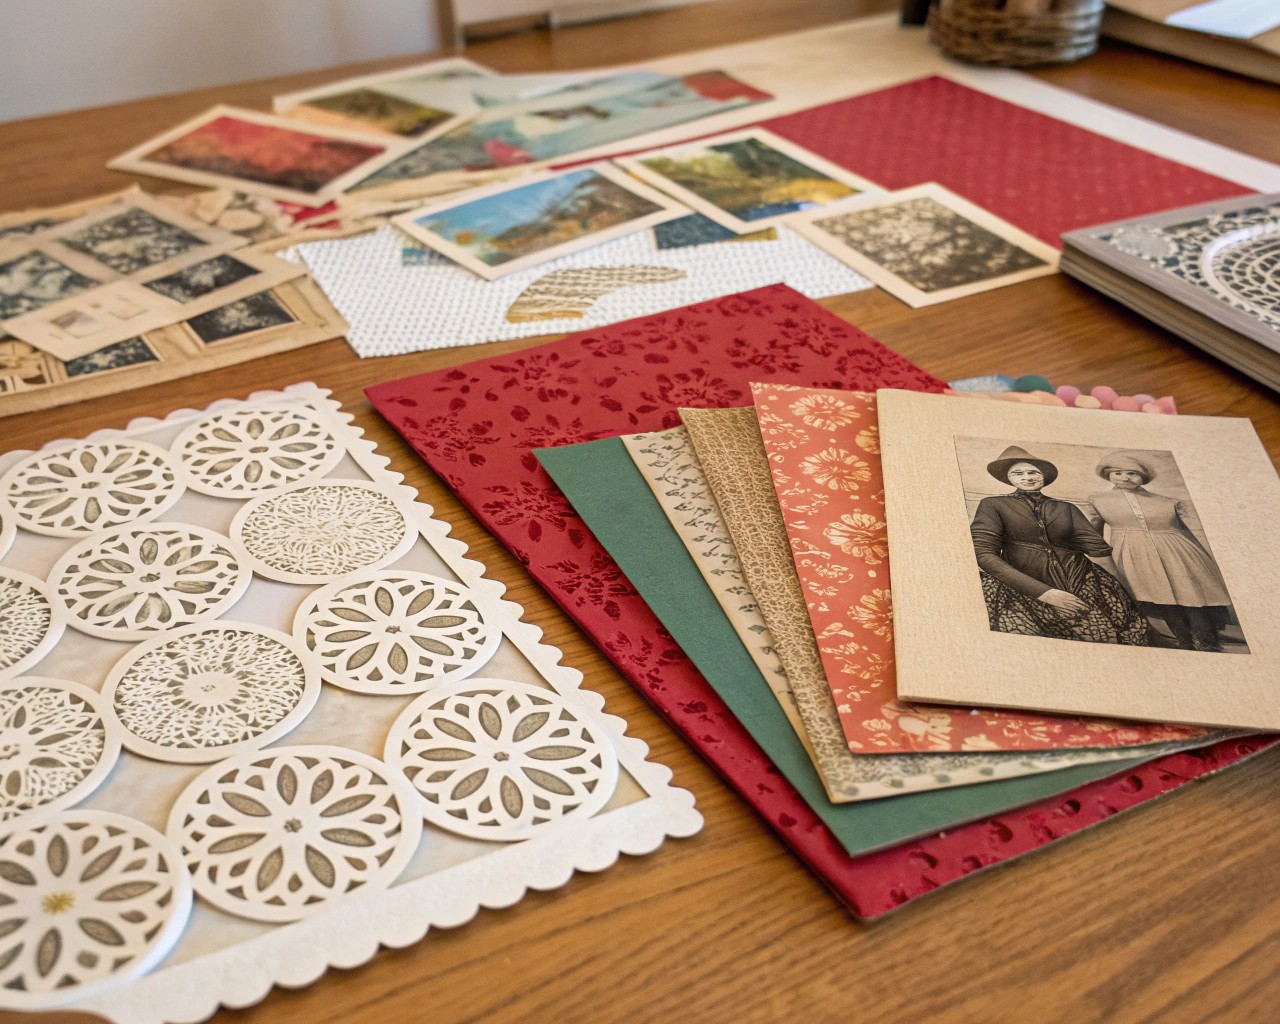
Sometimes the frame is perfect, but the artwork itself needs updating. One effective technique involves selectively painting over portions of the original piece while preserving elements that work with your new vision.
For landscapes or still lifes, consider painting the background a rich, dark color like black or deep charcoal. This creates dramatic contrast and instantly modernizes traditional subjects. The technique works particularly well with floral prints, where selective background darkening makes flowers appear to float against sophisticated darkness.
Mixed Media Approach: Layer new elements over existing artwork using decoupage papers, fabric, or even architectural drawings. This technique allows you to maintain the original’s character while adding contemporary touches.
Matting and Glass Considerations
Modern framing emphasizes clean lines and generous white space. Replace yellow or colored mats with crisp white versions in larger proportions—this immediately contemporizes any artwork. The rule of thumb is to use mats that are at least three inches wide on all sides for pieces smaller than 16×20 inches.
Consider removing glass entirely for oil paintings, as the protective varnish makes glazing unnecessary. For works on paper, upgrade to UV-protective glass or acrylic to prevent fading while maintaining clarity.
Creating Gallery-Worthy Groupings
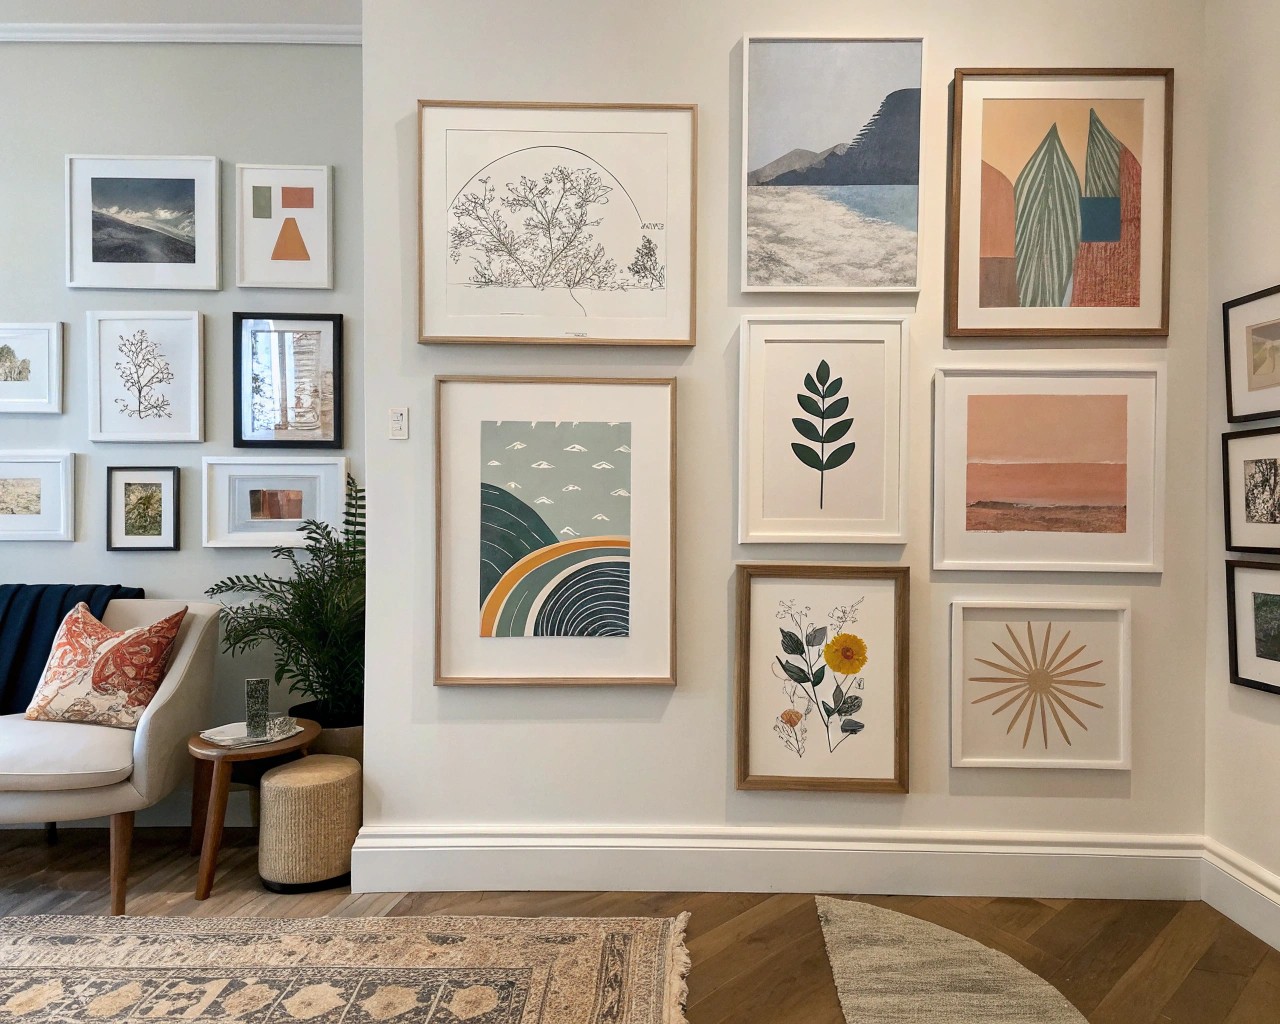
Transform individual pieces into cohesive collections by applying consistent treatment across multiple frames. Paint all frames in the same color family, or create intentional variation using different values of the same hue—light gray, medium gray, and charcoal, for example.
When arranging groupings, maintain consistent spacing between pieces (typically 2-3 inches) and align either top edges or center points for professional presentation. This approach works whether you’re displaying three matching pieces or creating an eclectic gallery wall.
Troubleshooting Common Challenges
Dealing with Ornate Details: Use artist’s brushes to work paint into carved areas, followed by gentle distressing with fine steel wool to highlight raised elements.
Paint Adhesion Issues: Always clean thoroughly and sand lightly before applying base coats. If paint isn’t adhering properly, the surface likely needs additional preparation.
Color Matching: When coordinating multiple pieces, paint them simultaneously using paint from the same batch to ensure perfect color consistency.
Long-term Care and Maintenance
Properly transformed pieces require minimal maintenance but benefit from occasional dusting with soft cloths and avoiding direct sunlight exposure. Waxed finishes can be refreshed annually with additional wax application, while painted surfaces may need touch-up every few years depending on use.
Store unused transformed pieces in stable environments away from temperature fluctuations and humidity changes. Wrap in acid-free tissue paper if stacking is necessary.
The beauty of this transformation approach lies in its reversibility—future owners can always restore pieces to their original state, making this a responsible way to update artwork while preserving its fundamental integrity. By applying these professional techniques with patience and attention to detail, you’ll create sophisticated pieces that rival expensive gallery finds while honoring the craftsmanship of the original artisans.

