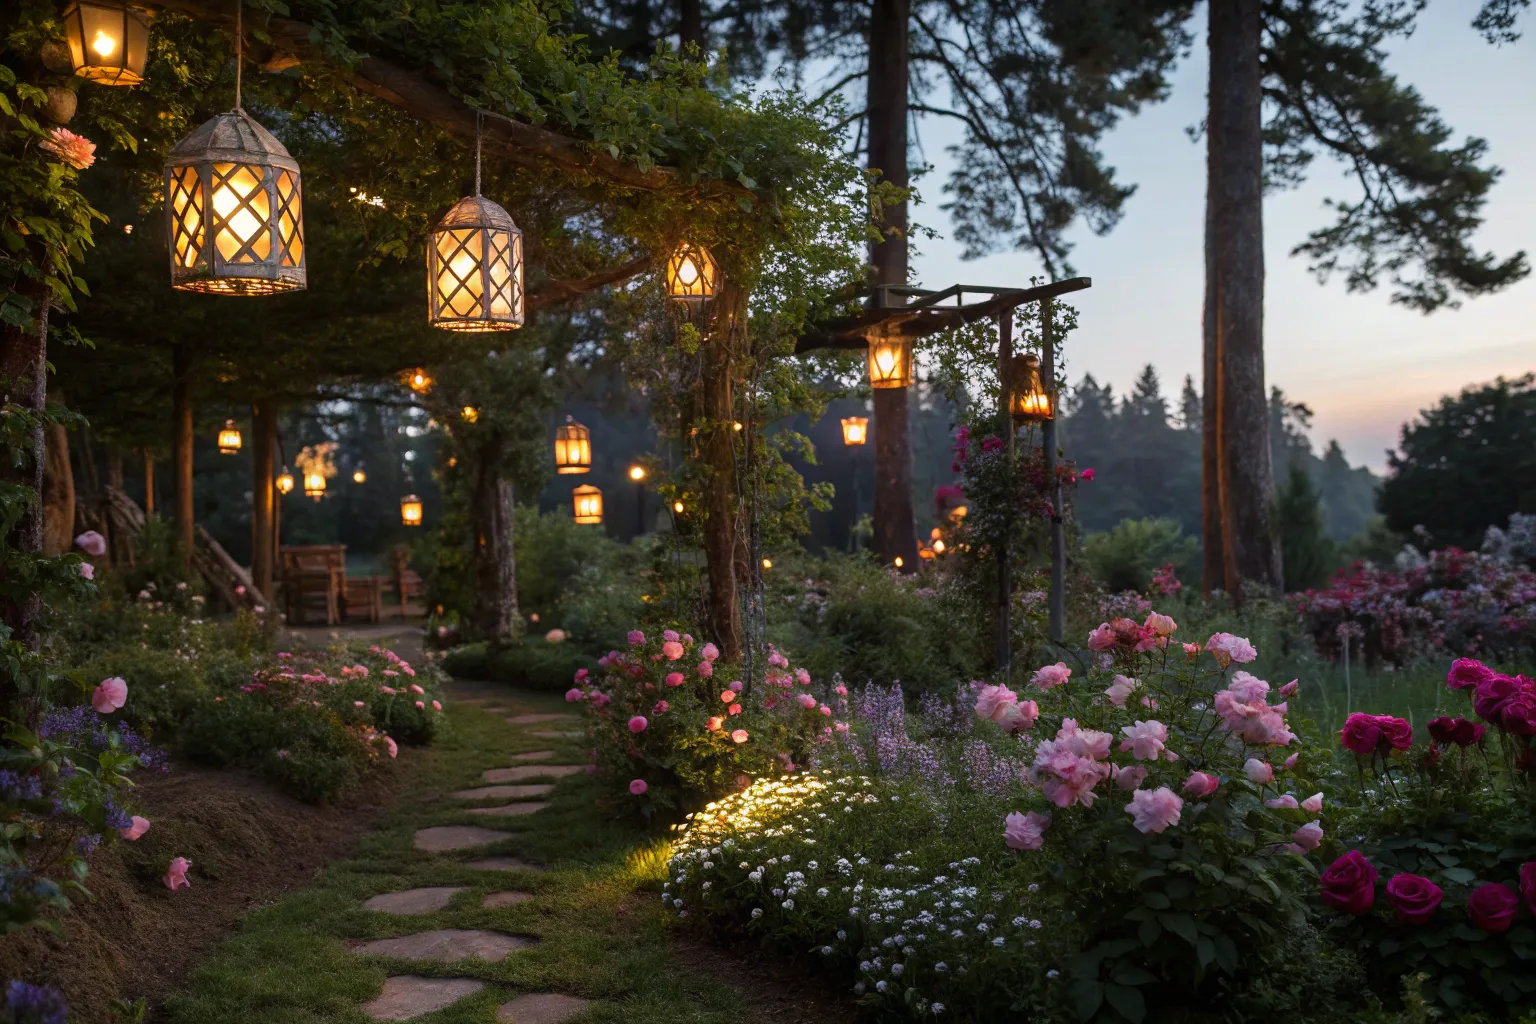
Transform ordinary household tin cans into enchanting luminaries that bring magical ambiance to your outdoor fairy garden. This comprehensive guide combines sustainable upcycling with whimsical design to create stunning lanterns that captivate both children and adults alike.
Understanding the Magic
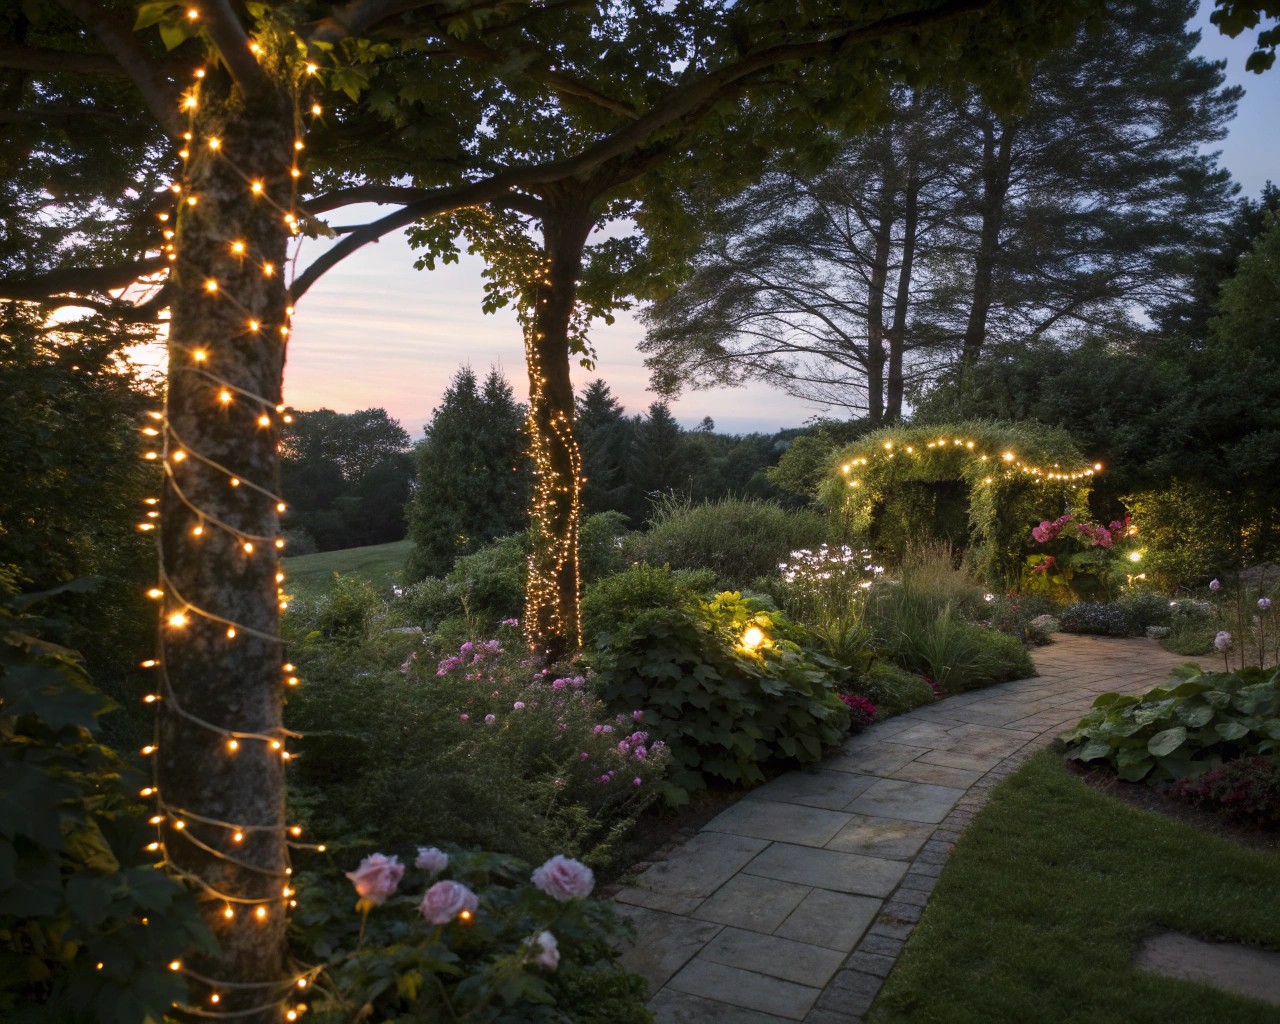
Fairy garden lanterns represent more than simple outdoor lighting—they serve as portals to imagination and wonder. The interplay of light filtering through carefully punched patterns creates dancing shadows that transform any garden space into an ethereal wonderland. I’ve discovered that the most compelling fairy garden lanterns combine three essential elements: thoughtful design, strategic illumination, and seamless integration with natural surroundings.
The scientific principle behind effective lantern design involves understanding light diffusion and pattern creation. When light passes through small apertures, it creates focused beams that project patterns onto surrounding surfaces. This phenomenon, combined with the natural patina that develops on metal surfaces over time, produces an authentic, weathered appearance that enhances the magical atmosphere of fairy gardens.
Essential Materials and Tools
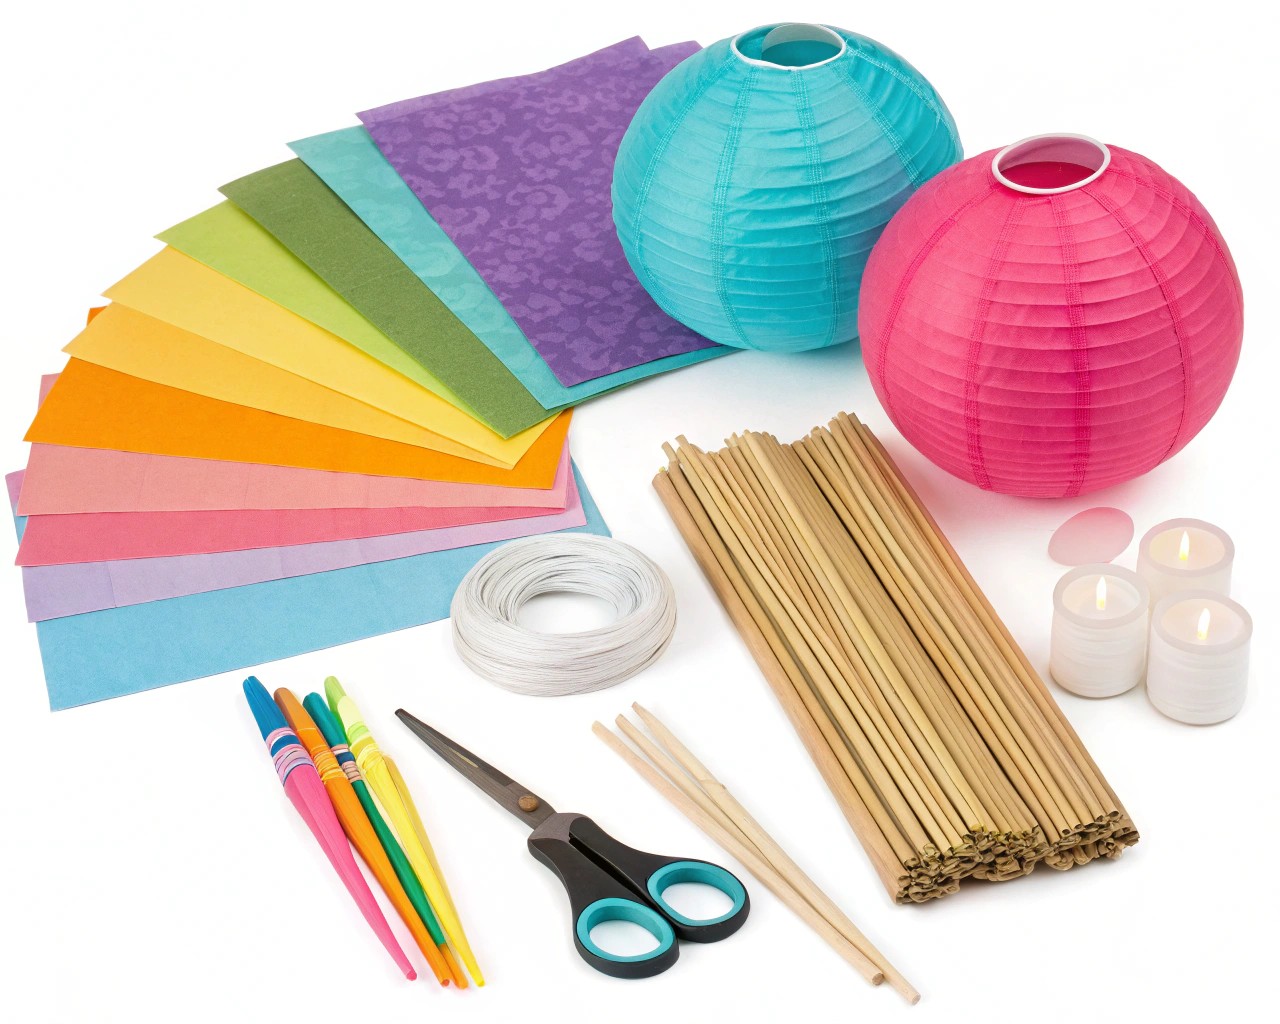
Primary Materials:
- Empty tin cans (various sizes: 14.5 oz soup cans, 28 oz tomato cans, or 32 oz coffee cans work exceptionally well)
- Water for freezing technique
- Fine-grit sandpaper (220-grit recommended)
- Outdoor-rated acrylic paint or metal primer
- Clear protective sealant (polyurethane or marine-grade finish)
Hardware and Fasteners:
- 18-gauge galvanized wire for handles (36-inch lengths)
- Small-diameter nails or awls (1/16 to 1/8 inch)
- Weather-resistant adhesive or epoxy
- Optional: decorative glass beads or crystals
Essential Tools:
- Ball-peen hammer or standard claw hammer
- Work gloves with cut-resistant palms
- Eye protection (safety glasses mandatory)
- Needle-nose pliers for wire manipulation
- Center punch or nail set for precise hole placement
- Measuring tape and pencil for layout
- Heavy towel or canvas for work surface cushioning
Alternative Material Options:
For those seeking variations, aluminum food containers, large yogurt containers, or even repurposed coffee tins provide excellent alternatives. Each material offers unique characteristics—aluminum provides easier puncturing but less structural integrity, while steel cans offer superior durability but require more forceful striking.
Safety First: Preparation Guidelines
Working with metal containers demands meticulous attention to safety protocols. Always wear work gloves with reinforced palms and fingertips to prevent cuts from sharp edges. Safety glasses remain non-negotiable when hammering, as metal fragments can become projectiles.
Can Preparation Process:
Begin by thoroughly cleaning each tin can with warm, soapy water. Remove all labels by soaking in hot water for 15-20 minutes, then scraping away adhesive residue with a plastic scraper. For stubborn adhesive, apply cooking oil and allow it to penetrate for several minutes before scraping.
The Ice-Filling Technique:
The most critical preparation step involves filling cans completely with water and freezing them solid overnight. This ice-filling method prevents can deformation during the hole-punching process. The frozen water acts as an anvil, providing necessary backing support while maintaining the can’s structural integrity. Without this step, cans will buckle and dent, resulting in irregular shapes that compromise both aesthetics and functionality.
Edge Safety Management:
Inspect each can’s opening for sharp burrs or rough edges. Use fine-grit sandpaper to smooth any dangerous protrusions. For cans with particularly sharp rims, consider folding the edge inward using pliers to create a safer, more finished appearance.
Design Inspiration and Planning
Effective fairy garden lantern design begins with understanding scale and visual harmony. The most successful patterns incorporate elements that complement the surrounding garden environment while creating sufficient light apertures for proper illumination.
Classical Pattern Categories:
Geometric Designs: Simple geometric patterns—dots arranged in rows, spirals, or diamond configurations—provide timeless appeal and ensure adequate light distribution. These patterns work particularly well for beginners and create sophisticated shadow play.
Nature-Inspired Motifs: Leaf patterns, flower shapes, or vine designs integrate naturally with garden settings. Consider punching hole clusters that mimic the branching patterns of nearby trees or the petal arrangements of garden flowers.
Whimsical Fairy Themes: Star constellations, crescent moons, or simple fairy silhouettes add enchanting touches. These designs require more planning but create magical focal points within fairy garden landscapes.
Pattern Transfer Techniques:
Create paper templates by printing or drawing designs sized appropriately for your can dimensions. Secure templates with removable tape, ensuring they lie flat against the curved surface. Mark hole locations with a pencil before removing the template to guide your punching process.
I recommend starting with simpler patterns for your first attempts, then progressing to more complex designs as your technique develops. The most successful fairy garden lanterns often feature a combination of different hole sizes—smaller holes for ambient lighting and larger apertures for more dramatic light projection.
Step-by-Step Construction Process
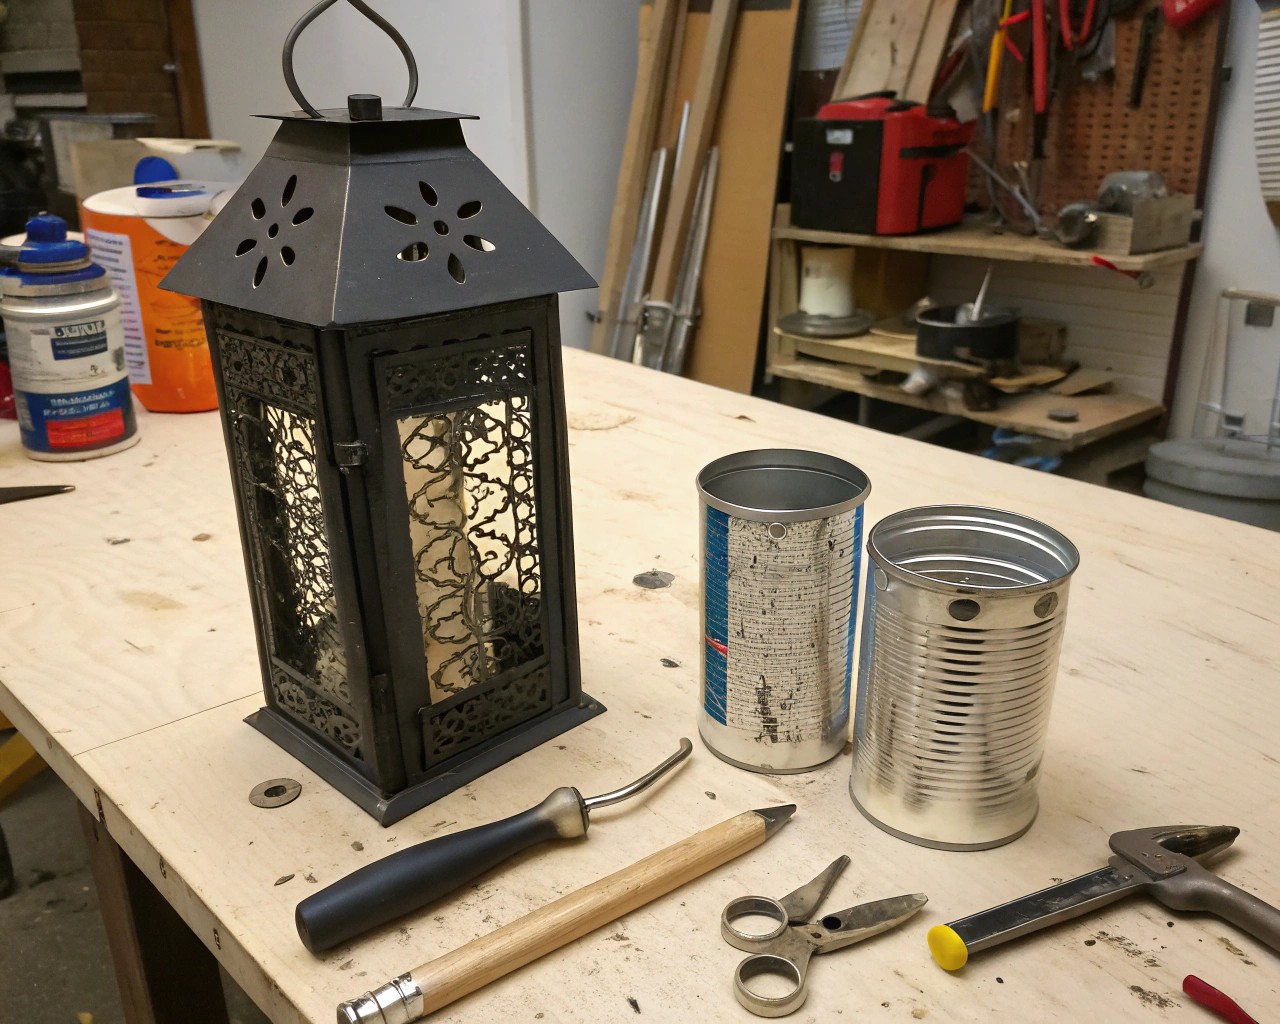
Phase 1: Pattern Application
Remove your frozen can from the freezer and immediately apply your chosen pattern template. Work quickly, as the ice will begin melting, softening the backing support. Secure the template with tape, ensuring all edges lie flat against the can surface.
Phase 2: Hole Creation
Position the can on a folded towel to prevent rolling and provide cushioning. Begin punching holes at marked locations using firm, controlled hammer strikes. The key to professional-looking results lies in consistent force application—each strike should fully penetrate the metal without excessive follow-through that could damage the underlying ice structure.
For varied hole sizes, use different tools:
- Small finishing nails create delicate apertures perfect for subtle lighting
- Larger nails or awls produce more substantial openings for dramatic light projection
- Center punches create perfectly round holes with clean edges
Phase 3: Handle Installation
Create hanging points by punching two holes near the can’s rim, positioned directly opposite each other. Thread 18-gauge galvanized wire through these holes, leaving approximately 8 inches for handle formation. Twist the wire ends securely, then shape the handle into an aesthetically pleasing curve.
Phase 4: Ice Removal and Cleaning
Allow the ice to melt completely, then rinse the can thoroughly to remove any metal debris. Inspect each hole for clean penetration and use a small file to smooth any rough edges.
Phase 5: Surface Preparation
Lightly sand the entire exterior surface with fine-grit sandpaper to create proper paint adhesion. Clean with a tack cloth to remove all dust particles before applying any finishes.
Illumination Options
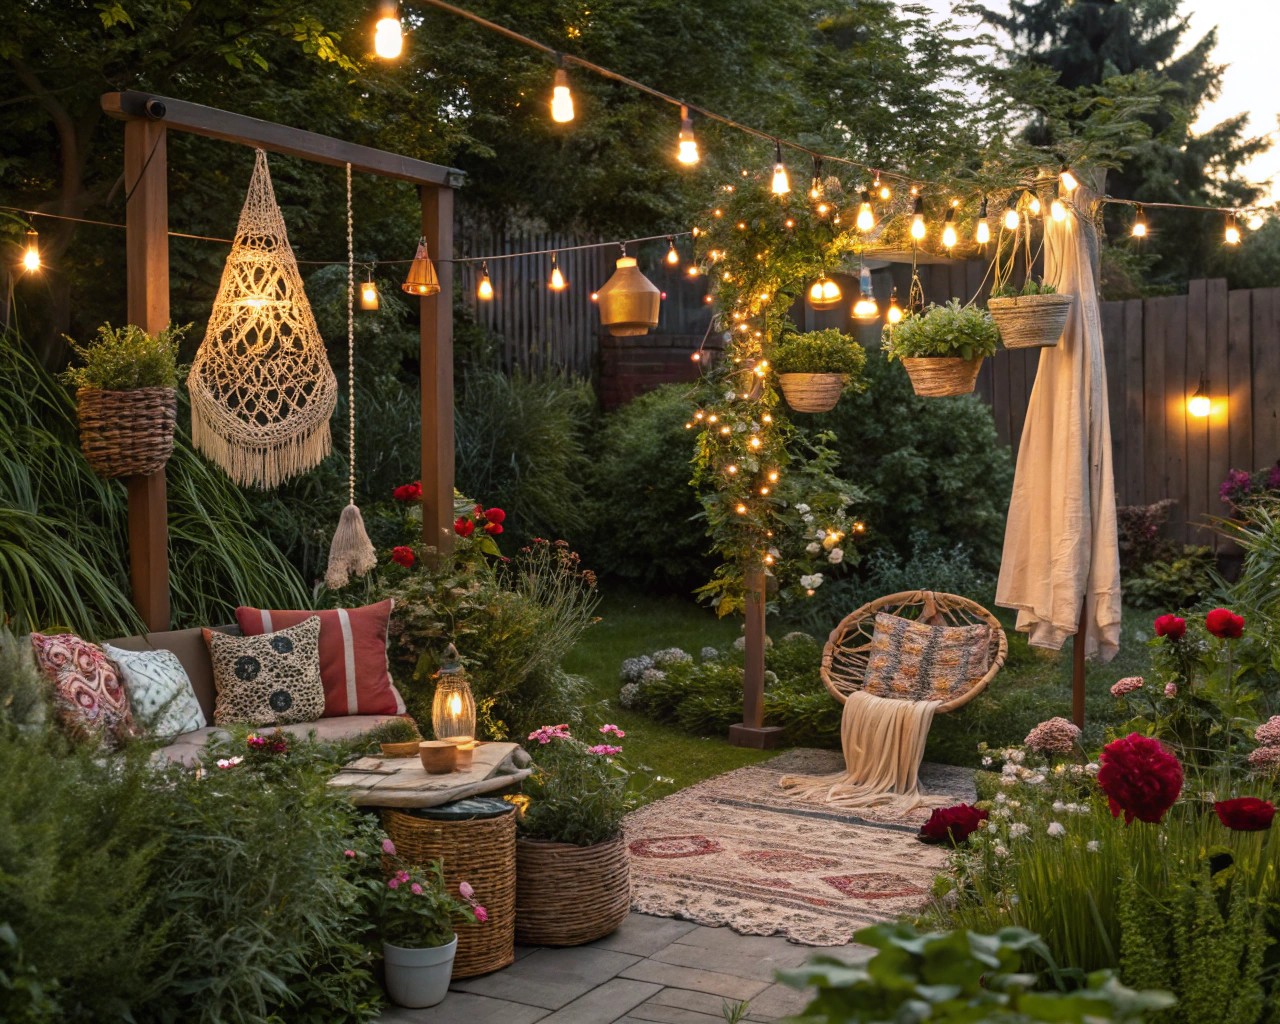
Solar-Powered Solutions:
Solar stake lights provide the most sustainable illumination option for fairy garden lanterns. Choose models with detachable heads that fit easily inside your cans. High-quality NiMH rechargeable batteries offer superior performance compared to standard NiCad alternatives, providing longer illumination periods and better temperature tolerance.
Battery-Operated LED Options:
Puck lights or small LED tea lights offer consistent, controllable illumination. Look for models with timer functionality to conserve battery life. Warm white LEDs (2700K-3000K color temperature) create the most appealing fairy garden ambiance, closely mimicking candlelight.
Traditional Candle Lighting:
Real candles provide authentic flickering light but require careful safety considerations. Use only in well-ventilated areas away from flammable materials. Votive candles in glass holders offer the safest option, providing protection from wind while containing any wax spillage.
Advanced Lighting Techniques:
Consider installing programmable LED strip lights that can cycle through different colors or create twinkling effects. These systems often include remote controls, allowing you to adjust brightness and effects from a distance.
Weatherproofing and Finishing
Outdoor durability requires proper surface treatment and protective finishing. Begin with a high-quality metal primer designed for exterior use, applying thin, even coats to prevent drip marks or texture irregularities.
Paint Selection Criteria:
Choose paints specifically formulated for metal surfaces and outdoor exposure. Acrylic latex paints offer excellent durability and color retention, while specialty metal paints provide superior corrosion resistance. Avoid generic spray paints, which typically provide inadequate protection for long-term outdoor use.
Protective Coating Application:
Apply a clear protective topcoat designed for metal surfaces exposed to weather. Marine-grade polyurethane offers exceptional durability, while specialized metal sealers provide targeted protection against rust and corrosion. Apply multiple thin coats rather than single thick applications for optimal protection.
Drainage Considerations:
Ensure your finished lanterns include adequate drainage to prevent water accumulation. Punch several small holes in the bottom of each can, positioning them to allow water escape while maintaining structural integrity.
Creative Enhancement Ideas
Natural Integration Elements:
Incorporate natural materials like twisted wire, small branches, or moss to create seamless integration with garden surroundings. Attach these elements using weather-resistant adhesives or mechanical fasteners that complement the lantern’s overall aesthetic.
Decorative Accent Applications:
Glass beads, colored crystals, or small mirrors can be attached around hole patterns to create additional light reflection and visual interest. These elements catch and redirect light, amplifying the lantern’s illumination effect while adding sparkling accents.
Fairy Garden Ecosystem Integration:
Position lanterns to illuminate key fairy garden features—miniature houses, pathways, or water features. The strategic placement of multiple lanterns creates layers of lighting that enhance the three-dimensional quality of fairy garden landscapes.
Seasonal Adaptation Techniques:
Design removable decorative elements that can be changed seasonally. Spring flowers, summer butterflies, autumn leaves, or winter snowflakes can be attached temporarily to keep your fairy garden lanterns fresh and engaging throughout the year.
Placement and Display Tips
Strategic lantern placement dramatically affects both safety and visual impact. Position lanterns at varying heights to create depth and interest—some suspended from branches, others placed on garden stakes, and still others positioned directly on surfaces or nestled among plants.
Height Variation Strategies:
Create visual rhythm by placing lanterns at different elevations. Tall shepherd’s hooks work well for primary focal points, while shorter plant stakes position lanterns at intermediate heights. Ground-level placement provides pathway lighting and intimate ambiance.
Safety Positioning Guidelines:
Maintain adequate clearance from flammable materials, especially when using candle illumination. Position lanterns where they cannot be easily knocked over by pets, children, or wind. Consider the mature size of nearby plants to prevent overgrowth from obscuring or damaging your lanterns.
Lighting Distribution Planning:
Avoid creating harsh shadows or overly bright spots by distributing lanterns evenly throughout the fairy garden space. The goal is gentle, even illumination that enhances rather than dominates the natural garden environment.
Maintenance and Seasonal Care
Regular Inspection Schedule:
Examine lanterns monthly for signs of rust, paint deterioration, or structural damage. Address issues promptly to prevent minor problems from becoming major repairs. Check electrical components in solar or battery-powered units, cleaning solar panels and replacing batteries as needed.
Seasonal Protection Strategies:
In harsh winter climates, consider storing delicate lanterns indoors to prevent freeze-thaw damage. Alternatively, apply additional protective coatings before winter and inspect more frequently during challenging weather periods.
Cleaning and Restoration:
Clean lanterns seasonally using mild soap and water, avoiding abrasive cleaners that could damage protective finishes. Touch up paint as needed, and reapply protective coatings annually in high-exposure locations.
Component Replacement Planning:
Plan for eventual replacement of lighting elements, batteries, and other consumable components. Keep spare parts on hand to minimize downtime and maintain consistent fairy garden illumination.
The transformation of simple tin cans into enchanting fairy garden lanterns represents more than just a crafting project—it’s an opportunity to create lasting magic in your outdoor space. Through careful attention to design, construction, and placement, these humble recycled materials become focal points that bring joy and wonder to garden visitors of all ages. The interplay of light, shadow, and imagination creates an atmosphere where fairy tales feel real and outdoor spaces become stages for endless enchantment.

