Creating candlelit ambiance has never been more enchanting than when you combine the elegant silhouette of a glass bottle with the natural beauty of sand. This DIY project transforms ordinary glass bottles into sophisticated candle holders that capture both rustic charm and modern style.
Understanding the Glass Bottle Candle Concept
Glass bottle candles represent the perfect marriage of upcycling and artisanal craftsmanship. When you cut a wine bottle, beer bottle, or any decorative glass container, you create a unique vessel that tells its own story while providing the functional beauty of candlelight.
The science behind this transformation is fascinating. When properly scored and cut, glass bottles maintain their structural integrity while offering the perfect container dimensions for optimal candle burning. The thick glass walls of most bottles provide excellent heat distribution, preventing dangerous hot spots while creating an even burn pattern.
Safety Fundamentals: Your Foundation for Success
Before embarking on any glass cutting project, I cannot overstate the importance of proper safety protocols. Working with glass requires patience, the right tools, and unwavering attention to safety details.
Essential Safety Equipment:
- Safety glasses or goggles
- Heat-resistant gloves
- Closed-toe shoes
- Well-ventilated workspace
- Fire extinguisher nearby
- First aid kit accessible
Critical Safety Principles:
Never attempt to burn a candle in cracked or damaged glass. Even hairline fractures can cause catastrophic failure when exposed to heat. The thermal expansion and contraction of glass during candle burning creates stress that compromised glass simply cannot handle.
Always inspect your finished bottles under good lighting, running your fingers along all cut edges to detect any sharp areas or structural weaknesses. Any bottle that doesn’t pass this inspection should be discarded – no candle is worth risking injury.
The Art of Glass Cutting
Choosing Your Bottles
I’ve found that wine bottles work exceptionally well due to their thick walls and consistent glass quality. Beer bottles can be lovely, but look for those with printed-on labels rather than paper ones – paper labels will burn or peel during the candle-making process.
The ideal bottle has a capacity of 6-12 ounces once cut, providing sufficient wax volume for a meaningful burn time while maintaining proper proportions.
The Scoring Method
Professional glass cutting begins with creating a precise score line. A quality bottle cutter is essential – this isn’t an area to compromise on tools. The cutter should create a continuous, even score around the bottle’s circumference.
Position your score line approximately 3-4 inches from the bottle’s base. This height provides adequate wax depth while maintaining stability. Mark your desired cutting point with a washable marker before scoring.
The Temperature Shock Technique
After scoring, the separation process relies on thermal shock. Prepare two containers: one filled with ice water, another with water heated to approximately 200°F (93°C). The dramatic temperature difference causes the glass to break cleanly along your score line.
Alternately immerse the scored portion in hot and cold water for 20-30 second intervals. Usually, 2-3 cycles will achieve separation. You’ll hear a distinct “pop” when the glass separates successfully.
Edge Finishing
Raw cut edges require careful attention. Begin with 60-grit sandpaper to remove sharp edges, progressing through increasingly fine grits up to 220 or 320. The goal is creating smooth edges that are safe to handle while maintaining the bottle’s aesthetic appeal.
Work in circular motions, frequently checking your progress. Proper edge finishing takes patience – rushing this step often results in chipped glass or uneven surfaces.
Sand Integration: Adding Natural Beauty

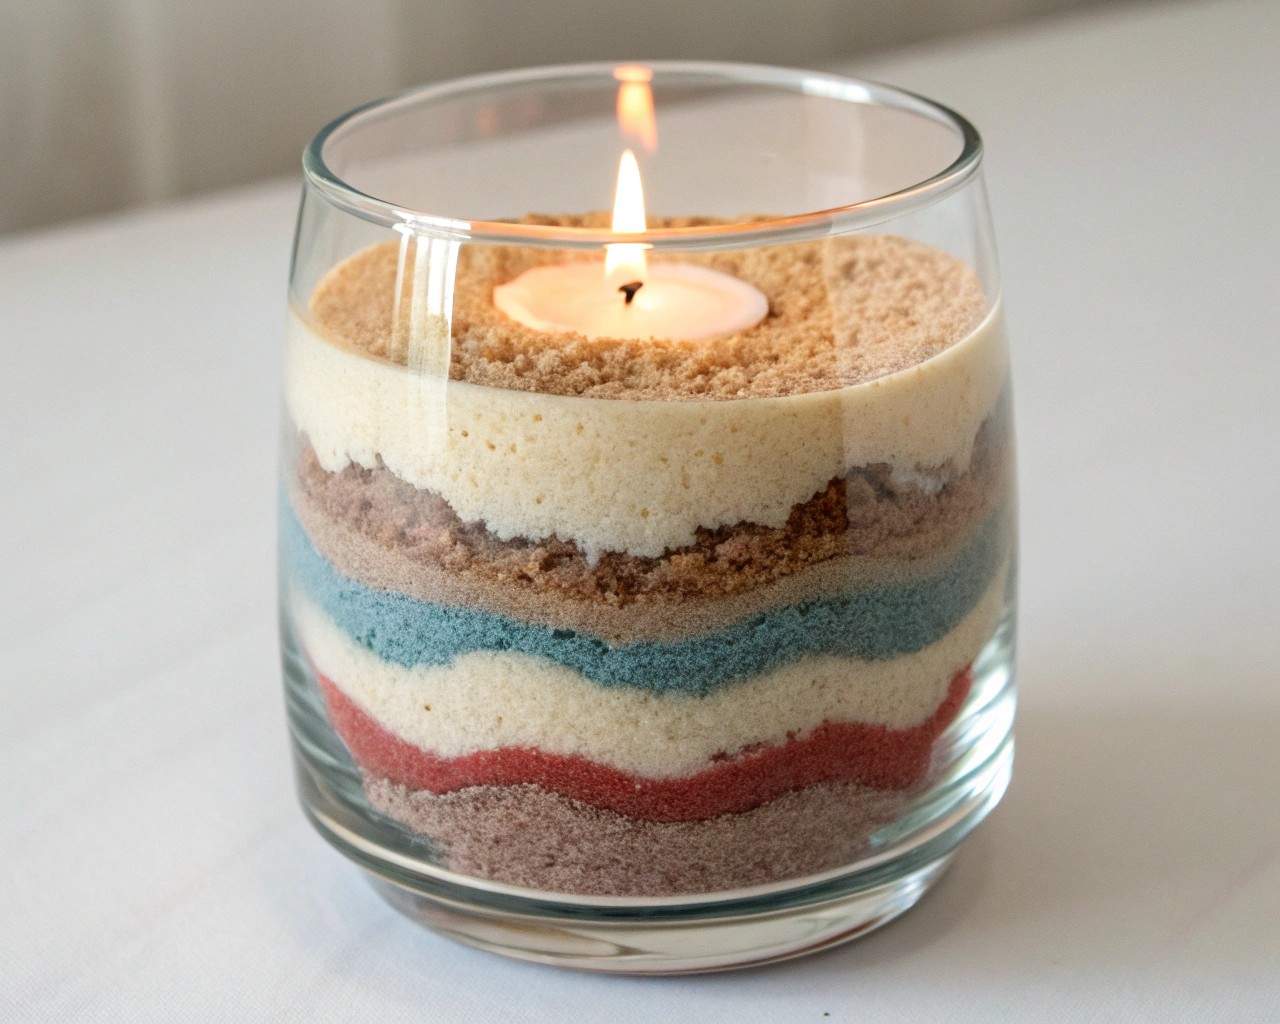
Sand serves multiple purposes in bottle candle design. Beyond its obvious decorative appeal, sand provides thermal mass that helps regulate candle temperature and can create stunning visual effects when layered thoughtfully.
Sand Selection
Fine craft sand works best for candle applications. Avoid beach sand unless properly cleaned and dried – organic matter and salt can create burning issues. Colored craft sand offers endless creative possibilities, while natural sand provides timeless, organic beauty.
For safety, ensure any sand used is heat-stable and contains no synthetic materials that might release toxic fumes when heated.
Layering Techniques
Create visual interest by layering different sand colors or textures. Pour each layer slowly, tapping the container gently to settle the sand and eliminate air pockets. Thin layers – about ¼ to ½ inch – create more dramatic effects than thick bands.
Consider the interaction between sand colors and candlelight. Darker sands create dramatic shadows, while lighter tones reflect and amplify the flame’s glow.
Sand as Functional Element
I often incorporate sand as both decoration and function. A thin layer of sand in the bottom of your glass bottle provides thermal insulation, protecting surfaces and extending the life of your container. The sand also makes wick placement easier and more stable.
Candle Creation Process

Wax Selection
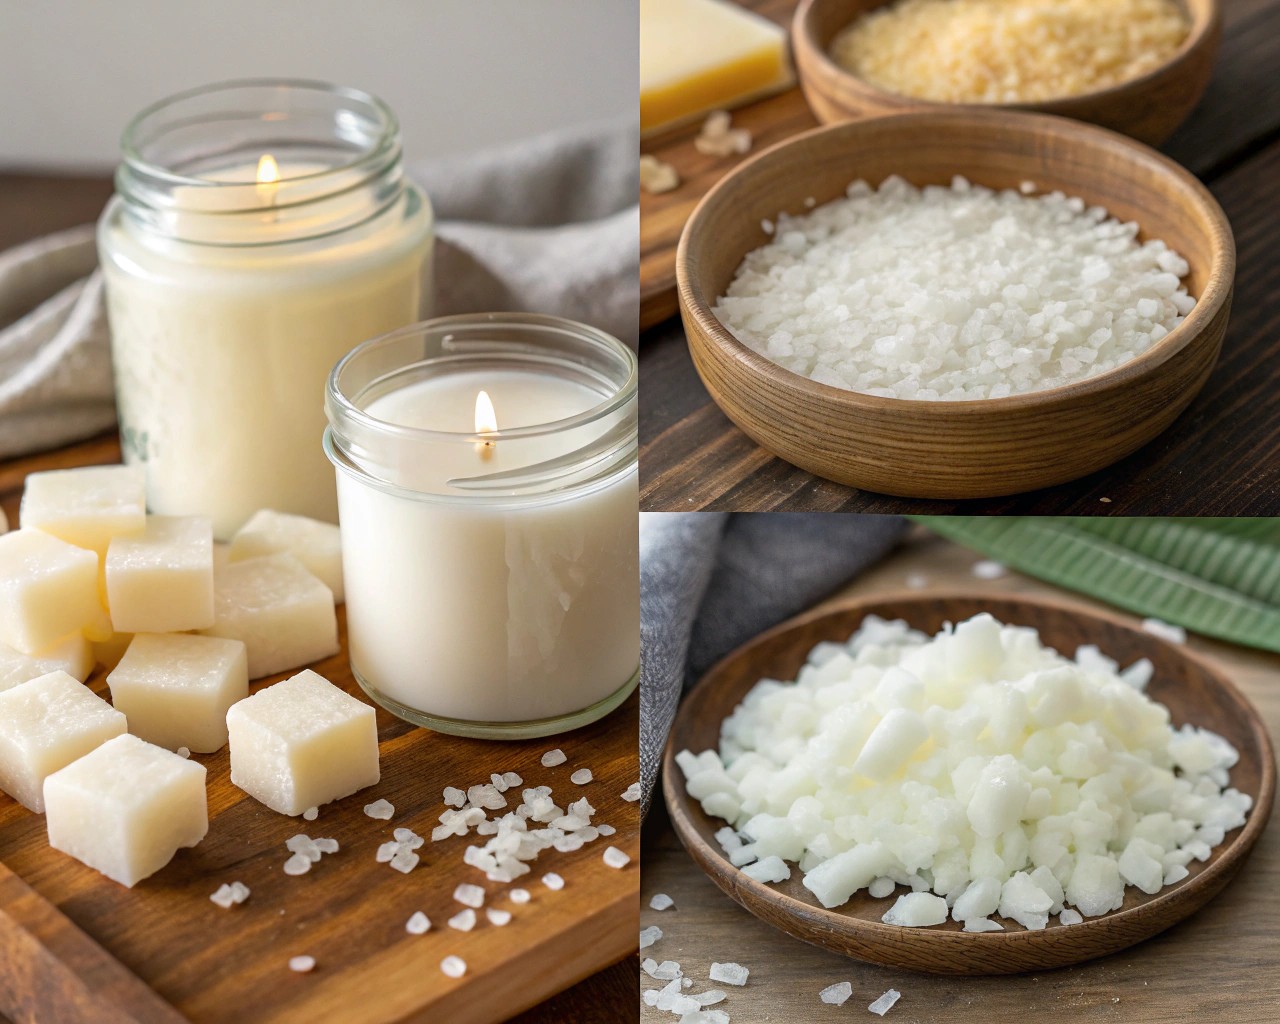
Soy wax remains my preferred choice for container candles due to its clean burn characteristics and lower melting point. Soy wax melts at approximately 120-140°F (49-60°C), making it safer to work with than paraffin alternatives.
For glass bottle candles, calculate approximately 1 ounce of wax per ounce of container volume, accounting for any sand displacement.
Wick Sizing
Proper wick selection is crucial for safe, effective burning. For most wine bottle candles (approximately 2.5-3 inches in diameter), a medium cotton wick or wooden wick works well. Cotton wicks provide steady, controllable flames, while wooden wicks create appealing crackling sounds reminiscent of a fireplace.
The wick should be sized to create a complete melt pool across the container’s surface within 2-3 hours of burning, but not so large as to create excessive heat or soot.
Assembly Process
Begin by securing your wick to the bottom center of your glass container using a small dot of hot glue or wick sticker. If using sand, add it now, carefully pouring around the wick to avoid displacement.
Heat your wax to the manufacturer’s recommended temperature – typically 160-185°F (71-85°C) for soy wax. If adding fragrance, incorporate it when the wax reaches approximately 185°F (85°C) for optimal scent throw.
Pour slowly and steadily, leaving approximately ½ inch of space at the top. As the wax cools, you may need to add additional wax to account for shrinkage.
Advanced Techniques and Variations
Multi-Wick Designs
For larger bottles, consider multiple wicks to ensure even burning. Space wicks evenly, ensuring they’re far enough apart to avoid flame interference but close enough to create a unified melt pool.
Embedded Decorations
Small decorative elements – shells, glass beads, or dried botanicals – can be embedded in the wax or sand for additional visual interest. Ensure any additions are heat-stable and won’t interfere with proper burning.
Seasonal Adaptations
Adapt your designs seasonally by varying sand colors and scents. Warm amber sands with vanilla or cinnamon for autumn, cool blues with ocean scents for summer, or pure white with evergreen fragrances for winter.
Troubleshooting Common Issues
Uneven Burning
If your candle burns unevenly or tunnels, the wick may be too small. Ensure your first burn session creates a complete melt pool – this “memory ring” will determine how the candle burns for its entire life.
Excessive Soot
Sooting usually indicates an oversized wick or draft exposure. Trim wicks to ¼ inch before each use and position candles away from air currents.
Glass Cracking
Thermal shock can crack even properly cut glass. Avoid dramatic temperature changes and never place a hot candle container on cold surfaces.
Maintenance and Care
Proper maintenance extends candle life and ensures safety. Always trim wicks before lighting, never burn for more than 4 hours at a time, and discontinue use when ¼ inch of wax remains.
Clean containers can often be refilled, making these projects economically sustainable. Remove old wax by placing the container in a 200°F (93°C) oven for 10-15 minutes, then wiping clean with paper towels.
Creative Applications
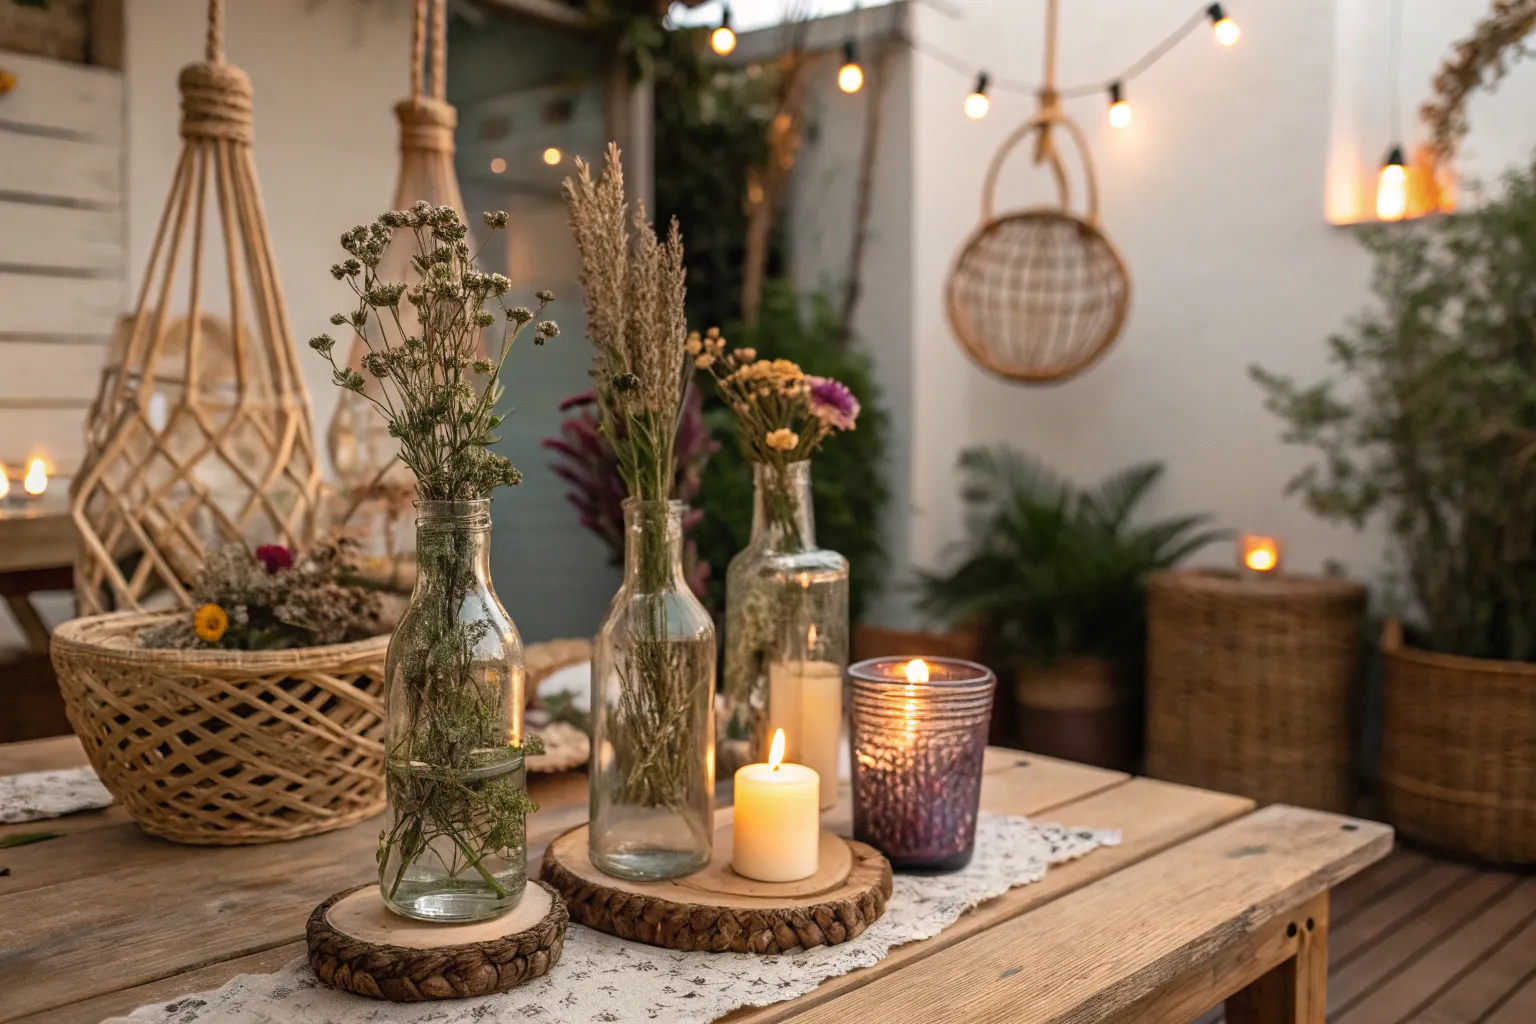
These bottle candles excel as centerpieces for outdoor dining, pathway lighting for events, or ambient lighting for bathrooms and bedrooms. Their unique profiles make them conversation pieces while providing functional illumination.
Consider grouping bottles of varying heights for dramatic effect, or incorporating them into larger decorative arrangements with plants, books, or seasonal decorations.
Final Considerations
Creating glass bottle candles with sand elements combines technical skill with artistic vision. Each piece becomes unique through the natural variations in glass cutting and sand placement, ensuring no two candles are exactly alike.
The satisfaction of transforming discarded bottles into functional art pieces connects us to both environmental stewardship and traditional craftsmanship. These projects represent more than simple candle making – they’re expressions of creativity, sustainability, and the timeless human attraction to flame and light.
Remember that mastery comes through practice. Your first attempts may not achieve perfection, but each project teaches valuable lessons about glass behavior, wax properties, and design principles. Embrace the learning process, prioritize safety above all else, and allow your creativity to guide the evolution of your technique.

