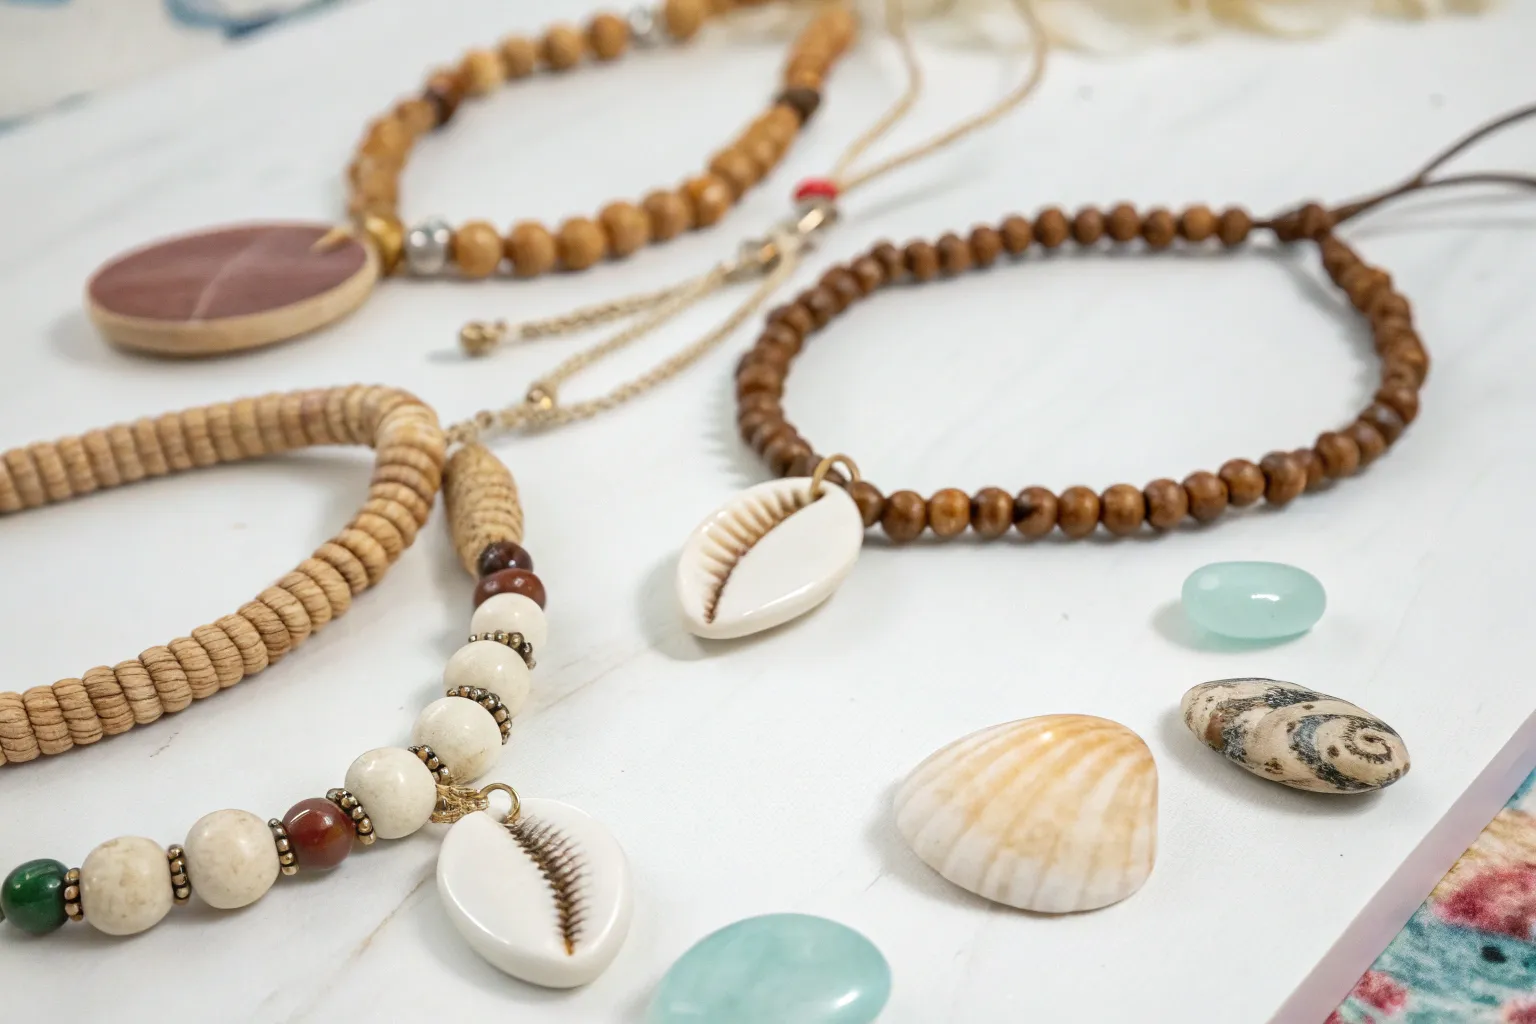
Transform overlooked treasures into meaningful adornments that carry stories close to your heart. When we breathe new life into forgotten objects, we create more than jewelry—we craft connections to the past while building bridges to the future.
The Emotional Alchemy of Forgotten Objects
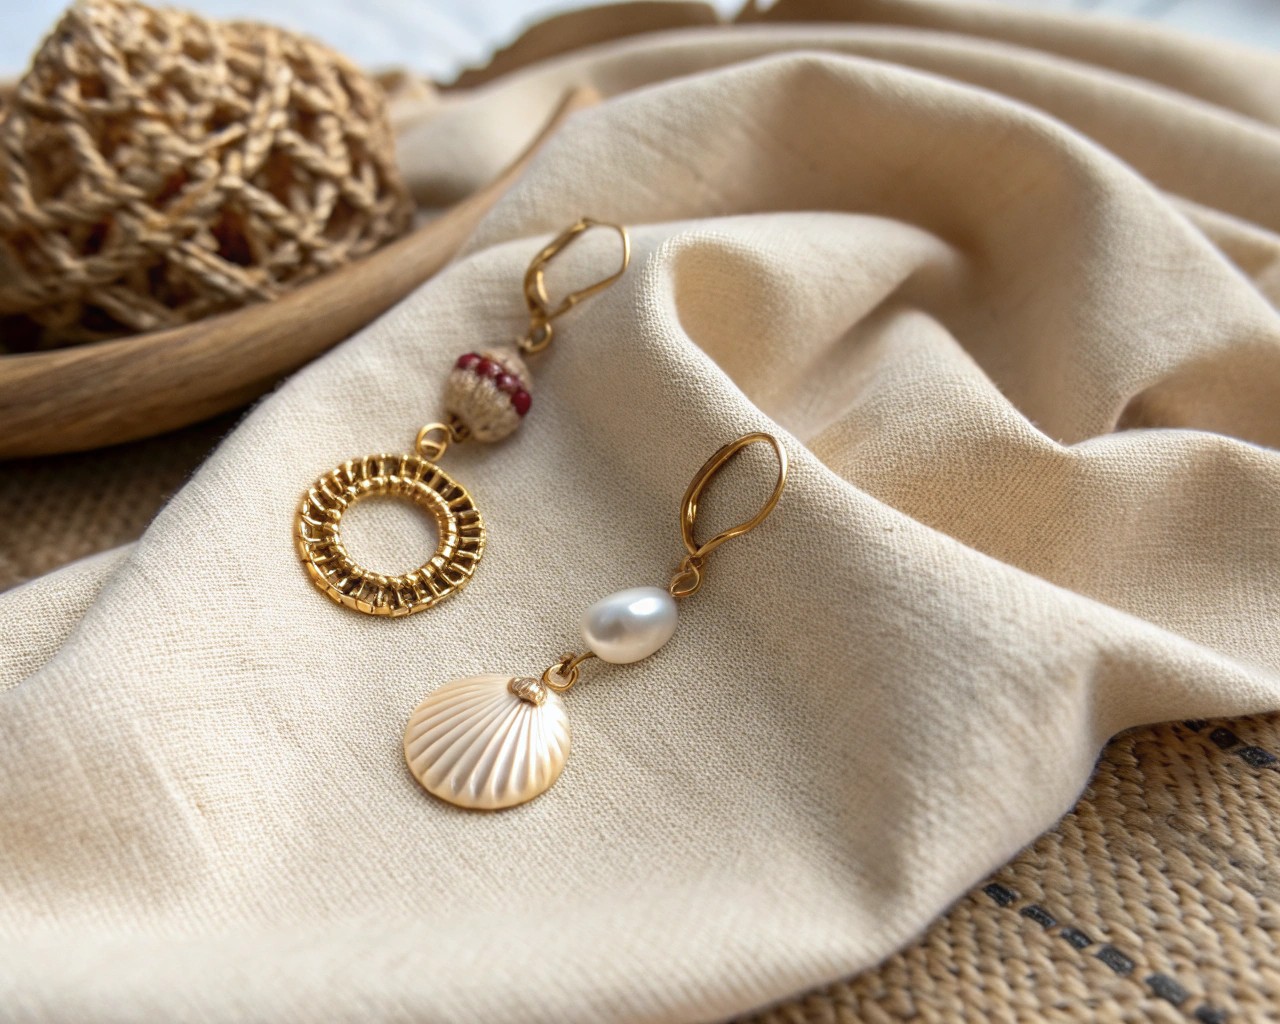
I’ve discovered that the most powerful jewelry rarely comes from pristine materials. The chipped brooch tucked away in a drawer, the single earring whose partner vanished years ago, the watch that stopped ticking but never stopped holding memories—these forgotten things possess an emotional weight that no store-bought piece can match.
When you transform these overlooked treasures, you’re practicing what I call “emotional alchemy.” You’re taking objects that have collected dust and disappointment and transmuting them into something that can be worn, touched, and treasured again. The scientific principle behind this process lies in our brain’s remarkable ability to form emotional attachments to objects through repeated exposure and meaningful associations. Neuroscientists have found that when we handle items connected to positive memories, our brains release oxytocin—the same hormone associated with bonding and emotional well-being.
This transformation process serves multiple therapeutic functions. Research published in art therapy journals demonstrates that creating jewelry from meaningful materials can reduce anxiety levels by up to 60% in participants, while simultaneously increasing feelings of self-efficacy and emotional regulation. The repetitive motions involved in jewelry making activate the same neural pathways as meditation, creating a state psychologists term “flow”—where time seems to disappear and stress melts away.
Selecting Your Forgotten Treasures
The most compelling pieces often hide in plain sight. Begin by exploring spaces where memories accumulate: jewelry boxes, dresser drawers, attic trunks, or even your grandmother’s sewing basket. Look beyond traditional jewelry materials. Consider these overlooked candidates:
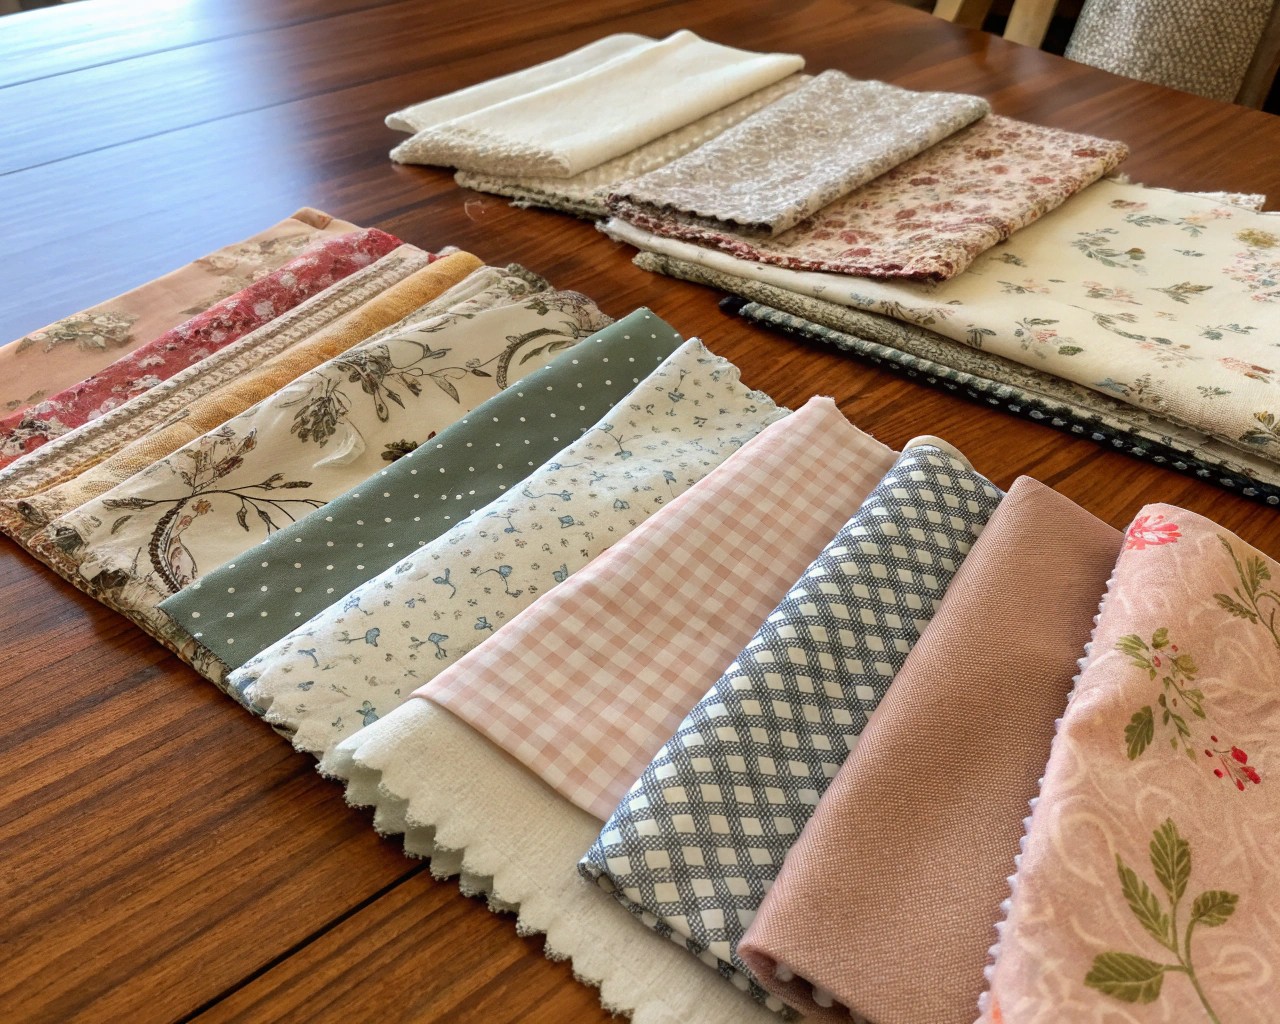
Textile fragments from meaningful clothing—the silk from a wedding dress, lace from a christening gown, or fabric from a favorite shirt can be preserved in resin pendants or wrapped around wire frameworks. The tactile memories embedded in these materials create instant emotional connections.
Broken timepieces offer intricate gears, crystals, and metal components that can be reassembled into steampunk-inspired pieces. The symbolism of time—stopped, restarted, reimagined—adds profound meaning to these creations.
Single earrings or orphaned jewelry components can find new purpose as pendant centers, charm additions, or decorative elements in larger compositions. That lonely pearl from a broken strand might become the focal point of an entirely new design.
Natural elements with personal significance—shells from a memorable beach vacation, pressed flowers from a wedding bouquet, or smooth stones from a favorite hiking trail—can be wire-wrapped or incorporated into mixed-media pieces.
Paper ephemera such as love letters, concert tickets, or photographs can be sealed between glass cabochons or laminated into pendants, creating wearable time capsules.
The key is recognizing emotional resonance over material value. A plastic button from your child’s first sweater carries more weight than expensive beads purchased from a store.
Essential Techniques for Transformation
Resin Preservation Method
For fragile materials like fabric, flowers, or paper, resin encapsulation provides both protection and transformation. The process requires UV-resistant epoxy resin, silicone molds, and careful layering techniques.
Begin by preparing your materials. Flowers should be pressed and completely dry to prevent trapped moisture. Fabric pieces should be cut to fit your chosen mold with small excess for adjustment. Paper items benefit from lamination or coating with decoupage medium before resin application.
Mix your resin according to manufacturer specifications, typically a 2:1 ratio of resin to hardener. Pour a thin base layer into your mold—approximately 2-3mm—and allow it to reach a honey-like consistency (usually 10-15 minutes). This prevents your materials from sinking to the bottom.
Place your meaningful elements carefully, using tweezers for precision. Consider composition and storytelling—how will the elements interact visually? Add the final resin layer, ensuring complete coverage while avoiding overflow. Remove air bubbles with a heat gun or alcohol spray, working quickly before the resin begins to set.
The curing process takes 24-48 hours depending on temperature and humidity. Once hardened, your preserved memories can be attached to jewelry findings using standard techniques.
Wire Wrapping for Structure and Support
Wire wrapping offers infinite possibilities for incorporating odd-shaped or fragile elements into wearable pieces. This technique provides both structural integrity and decorative enhancement.
Select wire gauge based on your project needs. 20-gauge wire provides substantial structure for pendants and focal pieces, while 26-28 gauge offers flexibility for delicate wrapping and decorative details. Dead-soft wire is easiest for beginners, hardening naturally as you work with it.
The fundamental cage wrap technique begins with measuring your element and adding 4-6 inches of wire for working ends. Create a small loop at one end using round-nose pliers—this becomes your anchor point. Wrap the wire around your element, maintaining consistent tension while following its natural contours.
For irregular shapes, use the “organic wrap” approach. Allow the wire to find natural resting points on your element’s surface, creating multiple contact points for stability. This technique works particularly well for rough stones, shells, or vintage buttons.
The spiral finish adds professional polish to your work. After securing your element, extend the working wire approximately 2 inches beyond your final wrap. Using the tip of your round-nose pliers, create a small spiral, gradually increasing the size while maintaining consistent spacing.
Mixed Media Assembly Techniques
Complex pieces often require combining multiple techniques and materials. The key lies in understanding how different elements interact and planning your assembly sequence carefully.
Create connection points using jump rings, eye pins, or custom-formed wire loops. This allows individual elements to move naturally while maintaining structural integrity. Consider the weight distribution—heavier elements should be positioned to complement rather than overpower lighter materials.
Adhesive selection proves critical for longevity. E6000 adhesive works well for metal-to-metal bonds and provides flexibility once cured. For glass or crystal elements, UV-resistant silicone adhesives prevent yellowing and maintain clarity over time.
Plan your color palette thoughtfully. Patina solutions can age new metal components to match vintage elements, while selective polishing can brighten tarnished pieces without destroying their character.
Step-by-Step Projects
Memory Locket Transformation
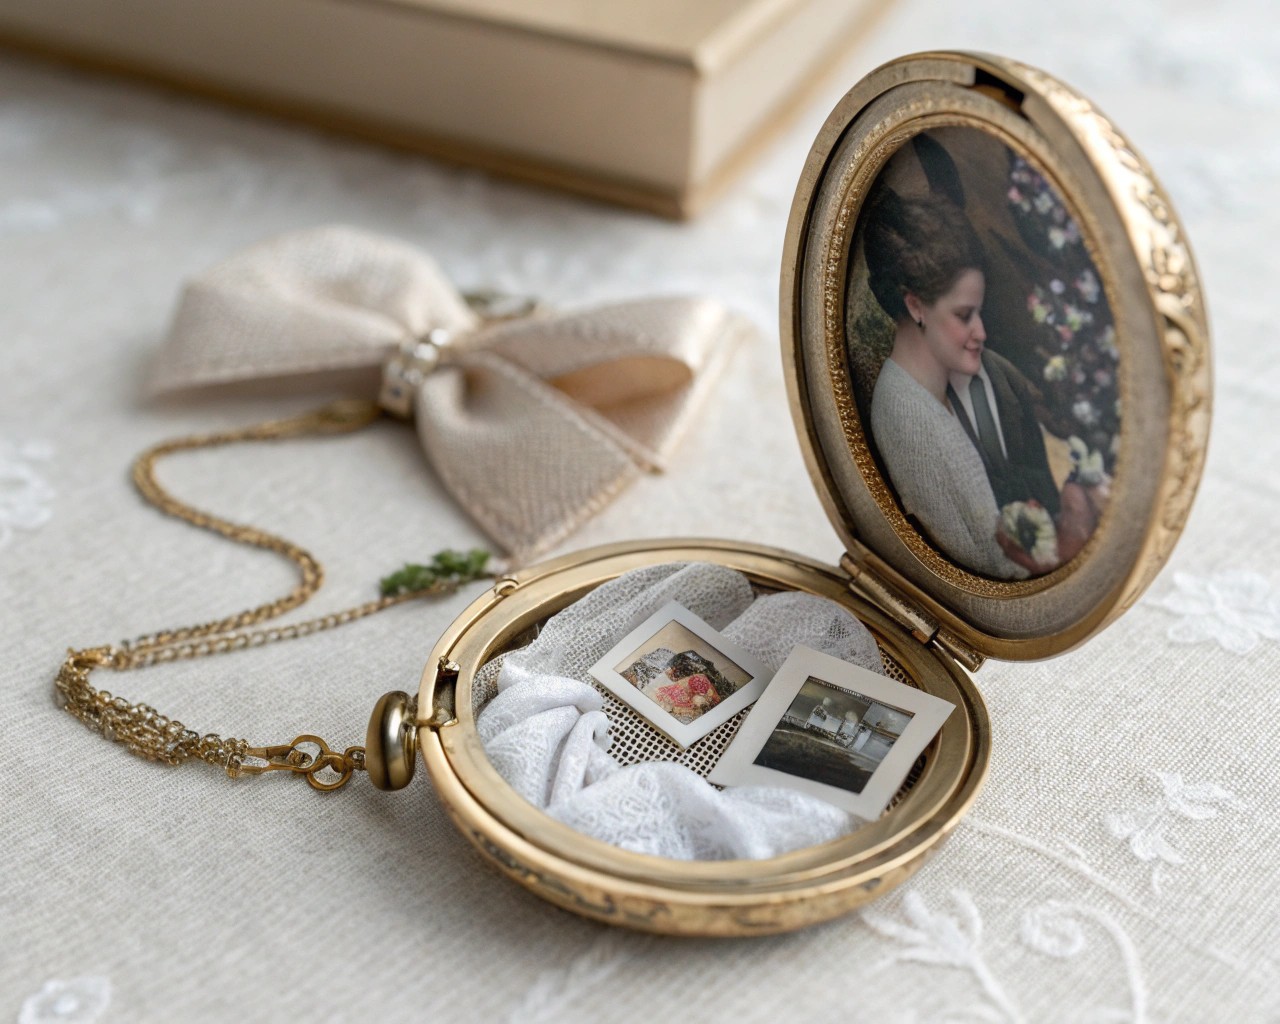
Transform an old watch case or broken compact mirror into a multimedia memory locket that opens to reveal layered stories.
Materials needed:
- Vintage watch case or compact mirror
- High-resolution photocopies of meaningful images
- Dimensional adhesive foam
- Miniature silk flowers or fabric scraps
- Clear protective coating
- Small magnifying lens (optional)
- Jewelry chain or cord
Process:
Remove any remaining watch mechanisms or mirror fragments, cleaning the interior thoroughly with alcohol. The goal is creating a clean canvas while preserving the case’s character and patina.
Size your photographs to fit the interior dimensions, leaving 2-3mm margin for assembly. Create depth by layering images on dimensional foam—primary photographs on the highest level, with supporting images or text on lower layers. This technique, borrowed from shadowbox construction, creates visual interest and storytelling depth.
Add textile elements strategically. A small piece of lace from a wedding dress might frame a wedding photograph, while dried flowers from the bouquet create a garden-like setting. Use minimal adhesive to maintain the organic feel of your arrangement.
The protective coating requires careful application. Use a brush-on acrylic sealer, working in thin layers to avoid obscuring details. Two light coats provide better protection than one heavy application.
If your locket case lacks a proper hinge or closure, create one using small brass hinges from craft suppliers. This modification requires basic metalworking skills but transforms an unusable case into a functional locket.
Attach your chain or cord using existing case lugs or by adding jump rings through carefully drilled holes. Consider the wearing length—longer chains allow the locket to rest closer to the heart, while shorter lengths make it more visible and accessible.
Textile Memory Bracelet
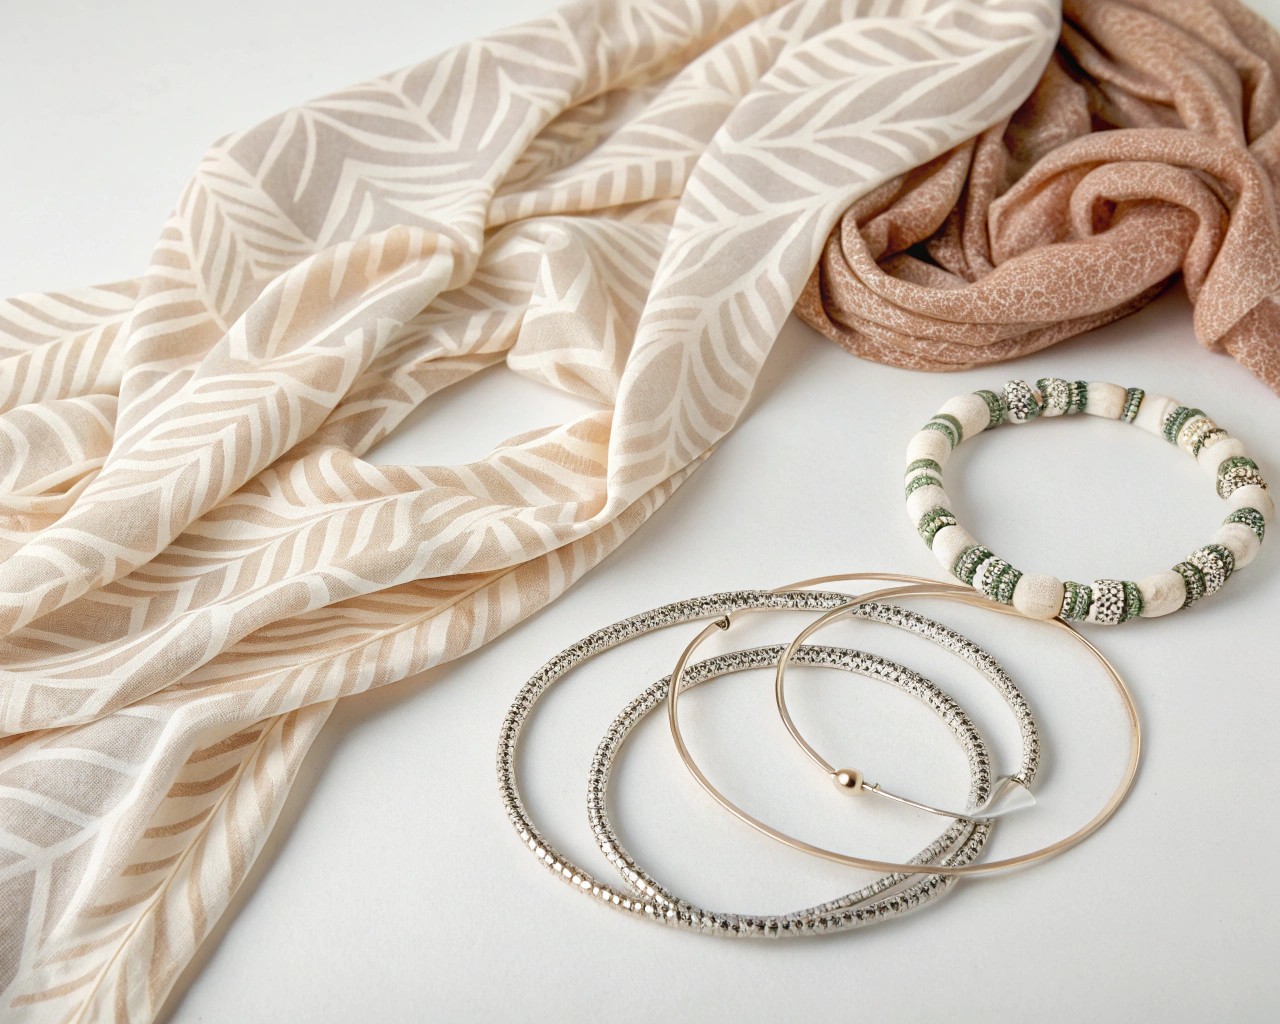
Convert meaningful fabric scraps into a substantial bracelet that tells your story through touch and visual texture.
Materials needed:
- Fabric strips from meaningful clothing (6-8 pieces, each 12 inches long)
- Memory wire (bracelet diameter)
- Wire guardians or crimp covers
- Coordinating beads or buttons
- Needle and thread
- Fabric stiffener
- Clear protective spray
Process:
Begin by treating your fabric strips with stiffener to prevent fraying and increase durability. Work in a well-ventilated area, applying the solution evenly and allowing complete drying between coats.
Create the base structure using memory wire. Cut the wire to wrap around your wrist 2.5 times, allowing for proper bracelet action and comfort. Form a small loop at one end using round-nose pliers—this prevents beads and elements from sliding off during construction.
Prepare fabric elements by rolling each strip around a pencil or dowel rod, creating consistent cylindrical beads. Secure with small stitches using coordinating thread, hiding knots within the rolled layers.
Thread your fabric beads onto the memory wire, alternating with meaningful buttons or coordinating purchased beads. The rhythm of alternation creates visual cohesion while highlighting the special elements.
Consider weight distribution as you work. Place heavier elements toward the center of the bracelet, with lighter pieces radiating outward. This creates comfortable wear and prevents the bracelet from rotating around your wrist.
Finish the second end with another loop, ensuring both ends are smooth and comfortable against skin. The completed bracelet should feel substantial but not cumbersome, with enough flex to slide on easily while maintaining its shape.
Apply protective spray to extend the life of your textile elements, focusing on areas that will receive the most wear and handling.
Vintage Button Cluster Necklace
Transform a collection of mismatched vintage buttons into a statement necklace that celebrates imperfection and accumulated history.
Materials needed:
- 20-30 vintage buttons in varying sizes
- Flexible beading wire (.018-.024 diameter)
- Eye pins in coordinating metal
- Jump rings
- Toggle or magnetic clasp
- Wire cutters and needle-nose pliers
- Small coordinating beads for spacing
Process:
Sort your buttons by size and visual weight rather than color or style. The most successful pieces embrace eclectic combinations while maintaining visual balance through size relationships.
Convert each button into a dangly element using eye pins. Insert the pin through the button’s shank or sewing holes, creating a small loop on the reverse side. If button holes are too large, use a small bead as a stopper on the back side.
Create the main chain structure using flexible beading wire cut to your desired necklace length plus 4 inches for connections. A 20-22 inch length works well for most button cluster designs, allowing the piece to rest at an elegant point on the chest.
Attach buttons at varying intervals along the chain, creating natural groupings rather than evenly spaced distributions. Group smaller buttons in clusters of 3-5, while larger statement buttons work better as single focal points.
Use coordinating beads as spacers between button attachments. This prevents tangling while adding subtle color and texture continuity throughout the piece.
The closure selection impacts both function and aesthetic. Toggle clasps work well with vintage themes and provide secure closure, while magnetic clasps offer convenience for users with limited dexterity.
Test wear your completed necklace, checking for balance and comfort. The piece should feel stable without being rigid, with buttons distributed to create visual interest from multiple angles.
Advanced Techniques for Complex Narratives
Layered Storytelling Through Assembly
The most emotionally compelling pieces tell stories through multiple layers of meaning and construction. This technique involves creating depth through both physical and metaphorical layering.
Begin with a foundational element that represents your story’s core—perhaps a locket containing a photograph or a stone from a meaningful location. Build outward from this center, adding elements that support and expand the narrative.
Use proximity and connection methods to suggest relationships between story elements. Components that physically touch or interweave suggest stronger connections than those merely positioned near each other.
Consider temporal layering, where elements from different time periods in your story occupy different physical planes in your design. Recent additions might hang in front, while older elements rest closer to your body, creating a chronological depth that mirrors how memory itself accumulates.
Patina and Aging Techniques
New components often feel jarring when combined with truly vintage elements. Controlled aging techniques help blend your additions seamlessly with existing materials.
Liver of sulfur solution creates authentic-looking tarnish on silver and copper elements. Work in a well-ventilated area, using plastic containers and tongs to avoid direct contact. The solution works quickly—seconds rather than minutes—so prepare your workspace completely before beginning.
For brass and bronze elements, ferric chloride provides controlled oxidation that mimics decades of natural aging. Apply with cotton swabs for precision, neutralizing with baking soda solution when desired color depth is achieved.
Steel wool in progressively finer grades (000 to 0000) removes selective areas of patina, creating natural-looking wear patterns that suggest decades of handling and care.
Incorporating Moving Elements
Kinetic components add another dimension to your storytelling, allowing pieces to respond to the wearer’s movement and create subtle sound and visual changes.
Bearing systems using small ball bearings allow components to rotate freely, creating meditative spinning elements that respond to gesture and movement. This technique works particularly well with circular elements like vintage buttons or coin-like components.
Suspended elements that swing naturally create gentle animation as you move. The key lies in calculating pendulum length and weight distribution to achieve pleasing rather than distracting motion.
Sound elements—tiny bells, chimes, or components that create gentle clicking—add auditory memories to your piece. However, use these sparingly; the goal is subtle enhancement rather than constant noise.
Preservation and Longevity
Your transformed treasures deserve careful consideration for long-term preservation. The combination of vintage and new materials creates unique conservation challenges that require thoughtful planning.
Environmental protection begins with understanding your materials’ vulnerabilities. Organic elements like fabric and paper respond to humidity changes, while metals react to air pollutants and skin acids. Store your pieces in climate-controlled environments when not wearing them, using anti-tarnish cloths for metal components and silica gel packets for humidity control.
Cleaning protocols should respect the age and fragility of your incorporated elements. Use soft brushes and gentle cleaners, testing any products on inconspicuous areas first. Many vintage materials have protective patinas that harsh cleaning destroys permanently.
Maintenance schedules help catch problems before they become irreversible. Monthly inspections for loose connections, quarterly deep cleaning, and annual professional assessments for complex pieces extend their wearing life significantly.
Consider creating documentation for your pieces—photographs showing construction details, lists of materials and their sources, and stories explaining their significance. This information becomes invaluable for future repairs and adds to the piece’s emotional legacy.
Creating jewelry from forgotten things connects us to the continuum of human experience while providing tangible comfort in our daily lives. These pieces become talismans that carry forward the stories that matter most, transforming overlooked objects into treasured companions that grow more meaningful with each wearing.
The true magic lies not in the techniques themselves, but in the intention and love you bring to the transformation process. When you rescue forgotten objects and reimagine their purpose, you’re participating in the ancient human tradition of creating meaning through craft—honoring the past while building something entirely new for the future.

