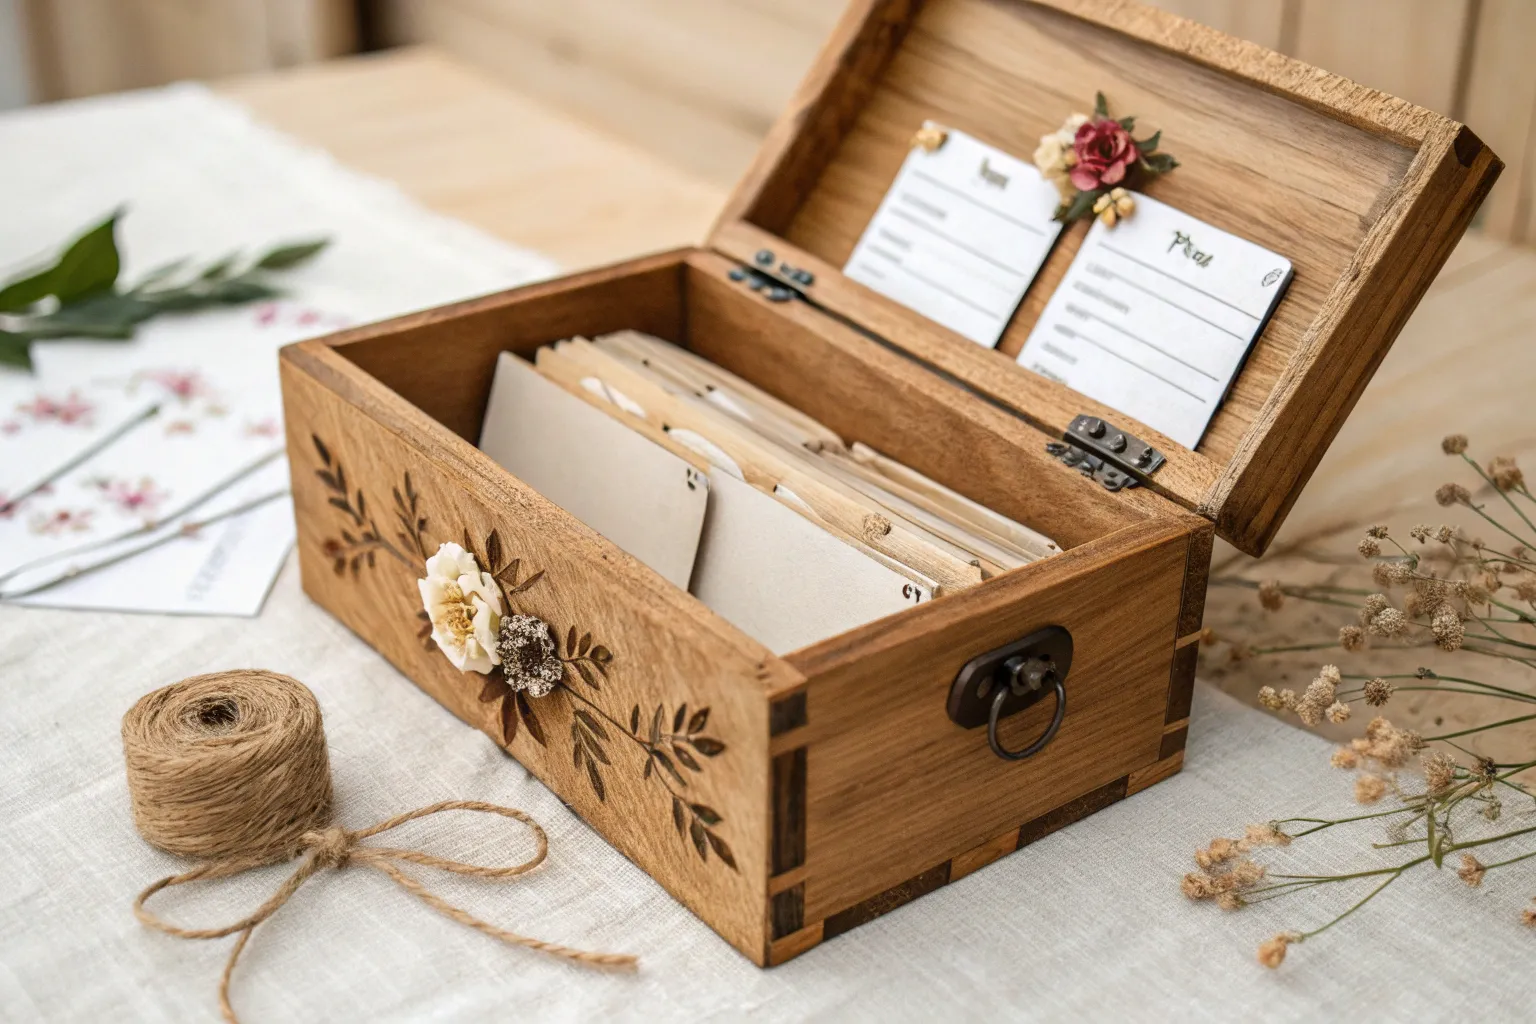
Creating a personalized recipe card box represents one of the most enduring and meaningful ways to preserve culinary traditions. This elegant storage solution not only organizes your favorite recipes but becomes a treasured family heirloom that can be passed down through generations.
Why Build a Recipe Card Box

A handcrafted recipe box offers something digital storage simply cannot: the tactile pleasure of holding treasured family recipes, the beauty of handwritten notes, and the satisfaction of creating something both functional and beautiful. I find there’s an irreplaceable intimacy to flipping through physical recipe cards, each one telling its own story through smudges, stains, and personal annotations that reveal years of loving use.
Materials and Tools Needed
Essential Materials
Wood Selection
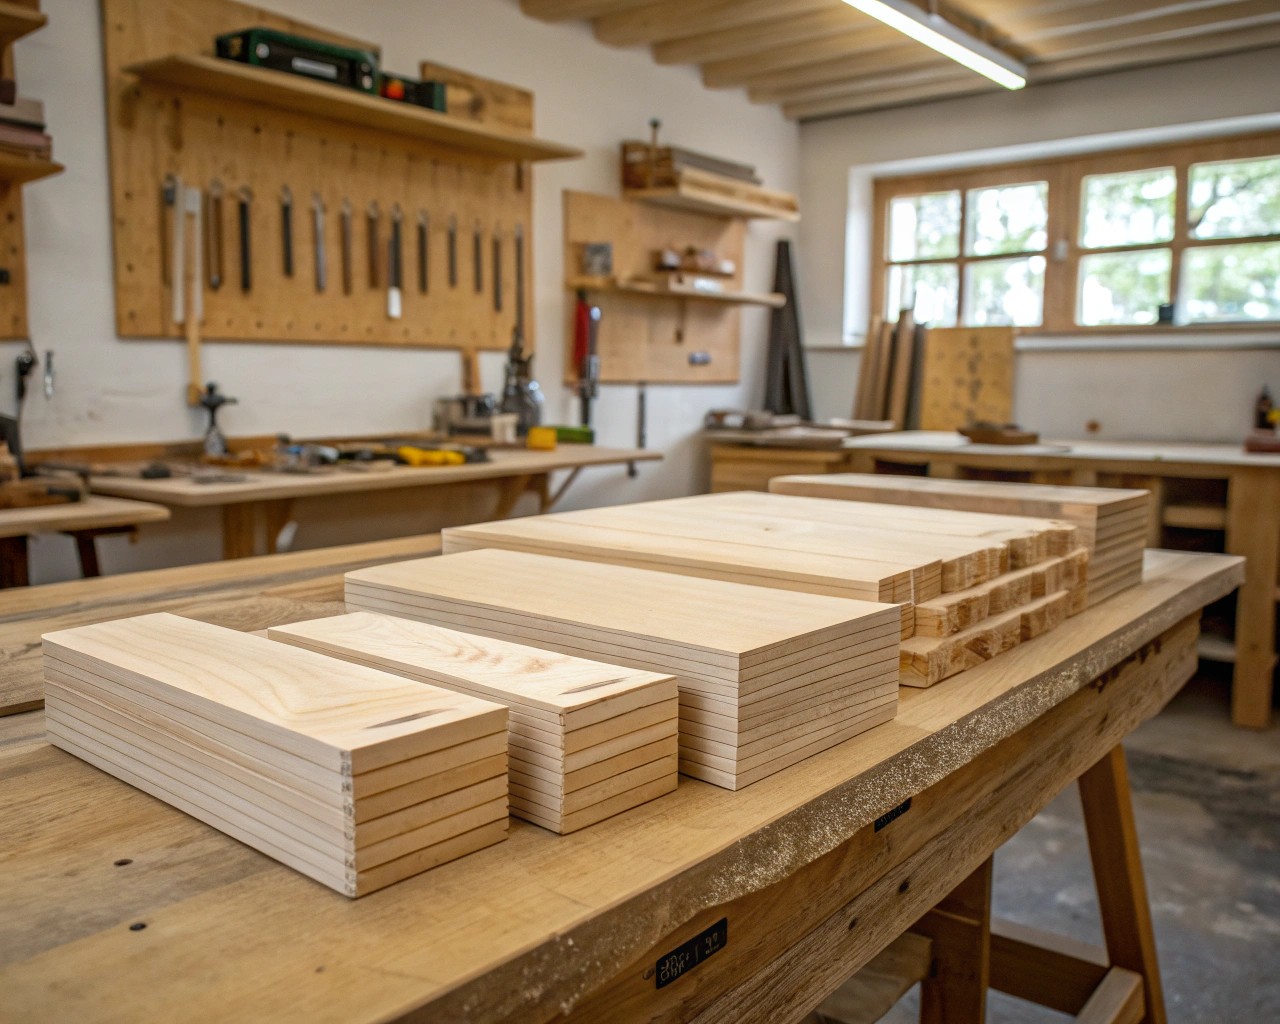
Choose materials that balance durability with workability. Cedar fence pickets offer an economical option with naturally aromatic properties that help deter insects. Pine provides excellent workability for beginners, while hardwoods like oak or cherry create more premium results. For a standard 4×6 inch recipe card box, you’ll need approximately 2-3 board feet of material.
Construction Materials
– Wood glue (polyvinyl acetate)
– Wood stain or finish of your choice
– Fine-grit sandpaper (220-400 grit)
– Small hinges (optional for hinged lid)
– Wood conditioner (especially important for softwoods)
Required Tools

Hand Tools (Minimum Requirements)
– Hand saw (crosscut and rip saw, or Japanese pull saw)
– Chisels (¼-inch and ¾-inch)
– Wooden mallet
– Measuring tools (ruler, square)
– Pencil for marking
Power Tools (If Available)
– Table saw or circular saw
– Router (for decorative edges)
– Orbital sander
– Drill with bits
Design Specifications and Planning
Standard Dimensions
The most functional recipe box accommodates 4×6 inch cards, which have become the modern standard. Interior dimensions should measure approximately 6¼ inches long by 4½ inches wide, with a height of 4-5 inches to accommodate dividers and a substantial collection of cards.
Exterior Dimensions
– Length: 7¼ inches
– Width: 5½ inches
– Height: 5 inches
– Wall thickness: ⅝ inch (provides durability without excess weight)
Construction Method
Box Joint Assembly
The most elegant and durable approach uses box joints (finger joints) at the corners. This traditional joinery method creates beautiful visual interest while providing exceptional strength. Cut matching notches in adjoining pieces, with each finger being approximately ¼ to ⅜ inch wide.
Groove System
Route or cut grooves along the interior faces of all four sides to accommodate the bottom panel. These grooves should be ¼ inch wide and positioned ¼ inch from the bottom edge.
Step-by-Step Construction Process

Phase 1: Preparing the Wood
Begin by cutting your lumber to rough dimensions, allowing extra length for final trimming. If using cedar fence pickets, plane them smooth and check for any defects that might affect the final appearance.
Dimensioning the Pieces
– Front and back: 7¼ × 5 inches
– Sides: 5½ × 5 inches
– Bottom: 6¾ × 4¾ inches
– Lid: 7¼ × 5½ inches
Surface Preparation
Sand all pieces progressively through 120, 180, and 220 grit sandpaper. Pay special attention to end grain, which tends to absorb stain unevenly without proper preparation.
Phase 2: Cutting Joints and Grooves
Creating Box Joints
Mark finger locations carefully using a square and pencil. Each finger should be precisely the same width for proper fit. Cut using a dado blade on the table saw, or carefully with a handsaw and chisel for hand-tool enthusiasts.
Bottom Panel Grooves
Route ¼-inch grooves along the inside face of each wall piece. Test-fit the bottom panel to ensure smooth sliding assembly.
Phase 3: Assembly
Dry Fitting
Always perform a complete dry assembly before applying glue. This allows you to identify any fitting issues and plan your clamping strategy.
Glue Application
Apply wood glue sparingly to joint surfaces. Excess glue creates cleanup problems and can interfere with stain absorption. Use the blue tape method for small boxes: stretch painter’s tape across each joint to act as a clamp while the glue cures.
Phase 4: Creating the Lid
Sliding Lid Method
The most elegant approach involves cutting the lid from the completed box body. After assembly and initial sanding, mark a line 1½ inches from the top. Use a fine-tooth saw to carefully separate the lid from the base, creating perfect grain matching between lid and body.
Crafting Handwritten Dividers and Tabs

Materials for Dividers
Cardstock Selection
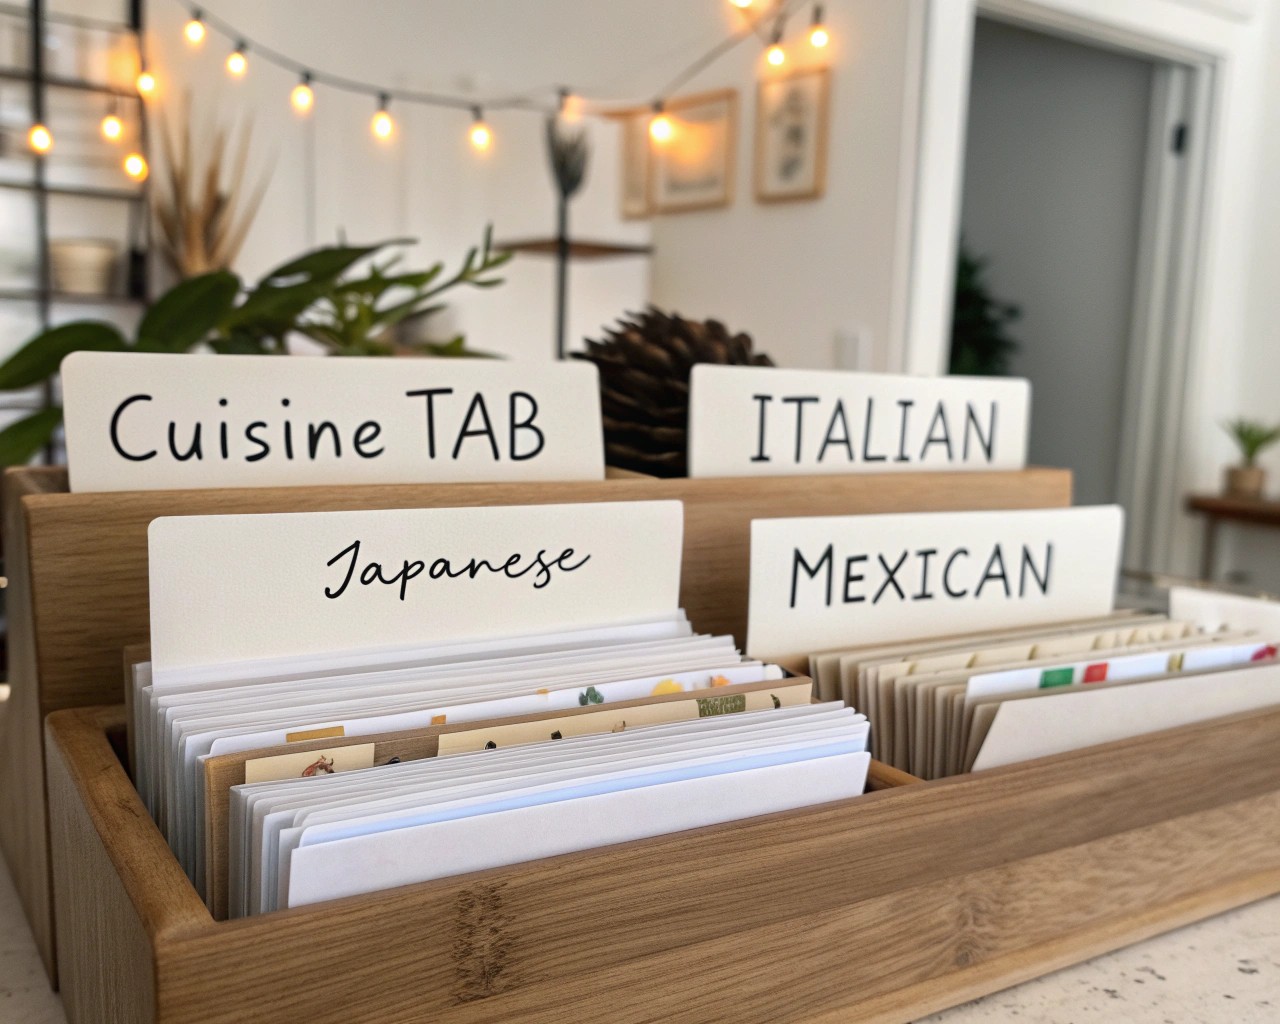
Use heavyweight cardstock (80-120 lb weight) for durability. Cream or ivory colors provide a classic appearance that complements natural wood finishes.
Tab Creation Process
Cut divider cards to 6½ × 4¼ inches to fit comfortably within the box. Create tabs by cutting small rectangular extensions along the top edge, staggering their positions so each category remains visible.
Hand Lettering Techniques
Tools for Beautiful Script
– Fountain pen with waterproof ink
– Fine-tip calligraphy markers
– Pencil for initial guidelines
– Ruler for consistent spacing
Lettering Approach
Begin with light pencil guidelines to ensure consistent letter height and spacing. Use simple, readable fonts rather than overly decorative scripts that might become difficult to read over time. Categories might include: Appetizers, Main Dishes, Desserts, Beverages, Holiday Recipes, and Family Favorites.
Creating Visual Hierarchy
Make category names prominent while keeping any subcategories or notes smaller and less visually dominant. Consider using different ink colors sparingly—perhaps a darker shade for main categories and lighter for subcategories.
Finishing Techniques
Surface Preparation
Progressive Sanding
Complete all sanding before assembly when possible. Progress through 150, 220, and 320 grit papers. Sand with the grain direction, and be especially careful around joint areas where cross-grain scratches become very visible under finish.
Grain Raising Technique
For the smoothest possible finish, lightly dampen the wood surface with distilled water using a barely damp cloth. Allow to dry completely, then sand lightly with 320 grit to remove raised fibers. This prevents the finish from raising the grain later.
Stain and Finish Application
Wood Conditioning
Softwoods like pine benefit significantly from pre-stain wood conditioner. Apply according to manufacturer directions, typically 15-30 minutes before staining.
Stain Selection and Application
For recipe boxes, consider classic stain colors like Golden Oak, Early American, or Dark Walnut. Apply with a clean cloth in long, even strokes following the grain direction. Work on one surface at a time, maintaining a wet edge to prevent lap marks.
Protective Topcoats
Apply two to three coats of polyurethane or similar protective finish. Light sanding with 400-grit paper between coats creates the smoothest final surface. For food-adjacent items, ensure your finish is fully cured before use—typically 30 days for complete chemical cure.
Advanced Customization Options
Decorative Elements
Wood Burning Details
Simple wood burning can add personal touches like family names, dates, or decorative borders. Practice on scrap wood first to develop consistent technique and appropriate temperature settings.
Carved Thumb Notch
A small carved depression in the lid’s front edge makes opening much easier. Shape this with a gouge or carving knife, then sand smooth and finish to match the rest of the box.
Interior Enhancements
Felt Lining
A thin layer of felt on the bottom prevents recipe cards from sliding around and adds a premium feel. Choose neutral colors that won’t show dirt easily.
Card Slot in Lid
Route a shallow groove in the lid’s interior to hold the recipe card you’re currently using—an incredibly practical feature that keeps active recipes visible while cooking.
Organization Strategies
Divider Categories
Primary Categories
– Appetizers & Snacks
– Soups & Salads
– Main Dishes
– Side Dishes
– Desserts & Baking
– Beverages
– Holiday Specialties
Advanced Organization
Within larger categories, consider sub-dividers for protein types (chicken, beef, seafood) or cooking methods (grilled, slow-cooked, baked). This makes finding specific recipes much faster during meal planning.
Recipe Card Standards
Consistent Format
Establish a standard format for all recipe cards including title placement, ingredient listing style, and instruction organization. This creates visual harmony and makes recipes easier to follow.
Rating and Notes System
Include space for personal ratings, modification notes, and source attribution. These annotations become invaluable over time as you refine recipes to your family’s preferences.
Maintenance and Care
Long-term Wood Care
Cleaning Protocol
Dust regularly with a barely damp cloth followed immediately by a dry cloth. Avoid commercial furniture polishes that can build up over time and attract dust.
Refinishing Schedule
Plan to refresh the finish every 5-7 years depending on use. This typically involves light sanding and reapplication of the topcoat rather than complete refinishing.
Protecting Recipe Cards
Environmental Considerations
Store the box away from direct heat sources and extreme humidity changes. Kitchen placement is fine, but avoid areas directly above stoves or near dishwashers where steam exposure is common.
Handling Best Practices
Encourage family members to handle cards by their edges rather than touching the written surfaces. This prevents oils from skin contact from degrading the cardstock over time.
This recipe box project combines fundamental woodworking skills with practical functionality, creating something truly meaningful for your kitchen. The handwritten elements add personal character that mass-produced storage simply cannot match, while the solid wood construction ensures this organizational system will serve your family for generations to come. Take your time with each step, focusing on clean joinery and smooth finishes—the investment in craftsmanship will be evident every time you reach for a favorite family recipe.

